1. Introduction
In this article, we’re going to take a look at a number of ways to find a class in Eclipse. All the examples are based on Eclipse Oxygen.
2. Overview
In Eclipse, we often need to look for a class or an interface. We have many ways to do that:
- The Open Type dialog
- The Open Resource dialog
- The Package Explorer view
- The Open Declaration function
- The Type Hierarchy view
3. Open Type
One of the most powerful ways to do this is with the Open Type dialog.
3.1. Accessing the Tool
We can access it in three ways:
- Using the keyboard shortcut, which is Ctrl + Shift + T on a PC or Cmd + Shift + T on a Mac.
- Opening the menu under *Navigate > Open Type
* - Clicking on the icon in the main toolbar:
3.2. Using It to Find a Class
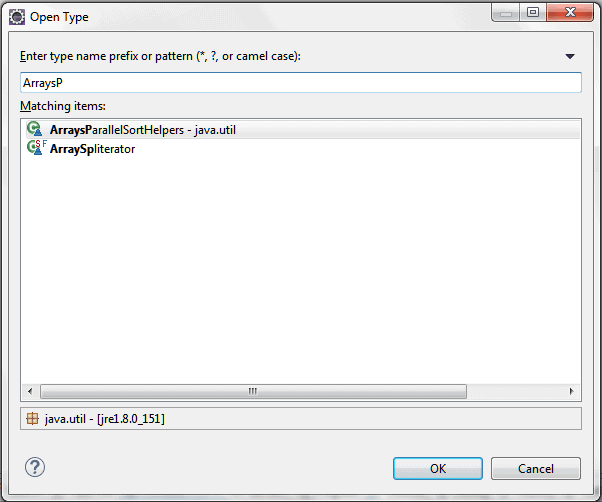
Once we have Open Type up, we simply need to start typing, and we’ll see results:
The results will contain classes in the build path of our open projects, which includes project classes, libraries, and the JRE itself.
In addition, it shows the package and its location in our environment.
As we can see in the image, the results are any classes whose name starts with what we typed. This type of search is not case sensitive.
We can search in camel case too. For example, to find the class ArraysParallelSortHelpers we could just type APSH or ArrayPSH. This type of search is case sensitive.
In addition, it’s also possible to use the wildcard characters “*” or “?” in the search text. “*” is for any string, including the empty string and “?” for any character, excluding the empty string.
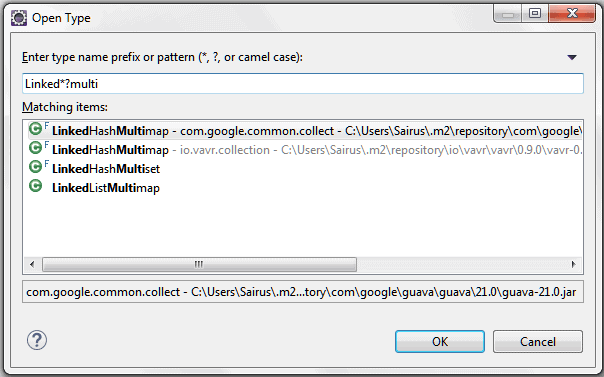
So, for example, let’s say we would like to find a class that we remember contains Linked, and then something else, and then Multi. “*” comes in handy:
Or if we add a “?”:
The “?” here excludes the empty string so LinkedMultiValueMap is removed from the results.
Note also that there is an implicit “*” at the end of every input, but not at the beginning.
4. Open Resource
Another simple way to find and open a class in Eclipse is Open Resource.
4.1. Accessing the Tool
We can access it in two ways:
- Using the keyboard shortcut, which is Ctrl + Shift + R on a PC or Cmd + Shift + R on a Mac.
- Opening the menu under Navigate > Open Resource
4.2. Using It to Find a Class
Once we have the dialog up, we simply need to start typing, and we’ll see results:
The results will contain classes as well as all other files in the build path of our open projects.
For usage details about wildcards and camel case search, check out the Open Type section above.
5. Package Explorer
When we know the package to which our class belongs, we can use Package Explorer.
5.1. Accessing the Tool
If it isn’t already visible, then we can open this Eclipse view through the menu under Window > Show View > Package Explorer.
5.2. Using the Tool to Find a Class
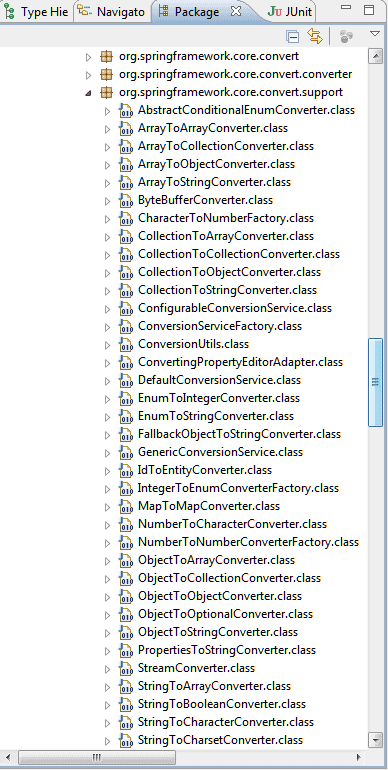
Here the classes are displayed in alphabetical order:
If the list is very long, we can use a trick: we click anywhere on the package tree and then we start typing the name of the class. We’ll see the selection scrolling automatically among the classes until it matches our class.
There’s also the Navigator view, which works nearly the same way.
The main difference is that while Package Explorer shows classes relative to packages, Navigator shows classes relative to the underlying file system.
To open this view, we can find it in the menu under Window > Show View > Navigator.
6. Open Declaration
In the case where we’re looking at code that references our class, Open Declaration is a very quick way to jump to it.
6.1. Accessing the Tool
There are three ways to access this function:
- Clicking anywhere on the class name that we want to open and pressing F3
- Clicking anywhere on the class name and going to the menu under Navigate > Open Declaration
- While keeping the Ctrl button pressed, mousing over the class name and then just clicking on it
6.2. Using It to Find a Class
Thinking about the screenshot below, if we press Ctrl and hover over ModelMap, then a link appears:
Notice that the color changed to light blue and it became underlined. This indicates that it is now available as a direct link to the class. If we click the link, Eclipse will open ModelMap in the editor.
7. Type Hierarchy
In an object-oriented language like Java, we can also think about types relative to their hierarchy of super- and sub classes.
Type Hierarchy is a view similar to Package Explorer and Navigator, this time focused on hierarchy.
7.1. Accessing the Tool
We can access this view in three ways:
- Clicking anywhere in a class name and then pressing F4
- Clicking anywhere in a class name and going to the menu under Navigate > Open Type Hierarchy
- Using the Open Type in Hierarchy dialog
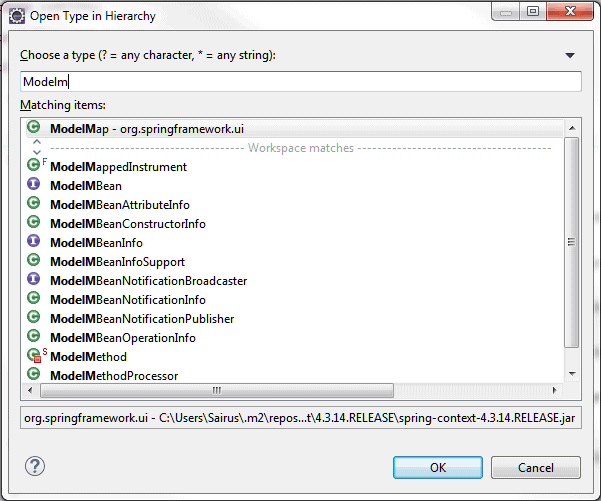
The Open Type in Hierarchy dialog behaves just like Open Type we saw in section 3.
To get there, we go to the menu under Navigate > Open Type in Hierarchy or we use the shortcut: Ctrl + Shift + H on a PC or Cmd + Shift + H on a Mac.
This dialog is similar to the Open Type dialog. Except for this time when we click on a class, then we get the Type Hierarchy view.
7.2. Using the Tool to Find a Class
Once we know a superclass or subclass of the class we want to open, we can navigate through the hierarchy tree, and look for the class there:
If the list is very long, we can use the same trick we used with Package Explorer: we click anywhere on the tree and then we start typing the name of the class. We’ll see the selection scrolling automatically among the classes until it matches our class.
8. Conclusion
In this article, we looked at the most common ways to find and open a Java class with the Eclipse IDE including Open Type, Open Resource, Package Explorer, Open Declaration, and Type Hierarchy.


