1. 概述
在本教程中,我们将说明如何使用 Cucumber 标签表达式来操纵测试的执行及其相关设置。
我们将研究如何分离 API 和 UI 测试并控制为每个测试运行哪些配置步骤。
2. 具有 UI 和 API 组件的应用程序
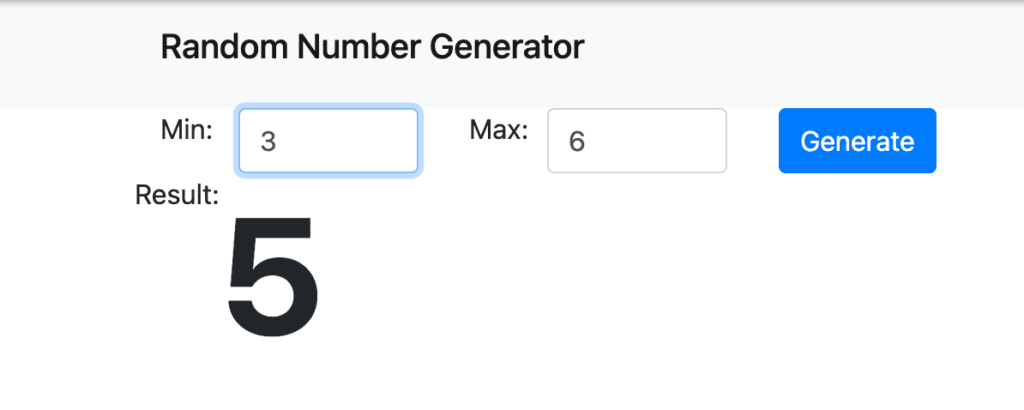
我们的示例应用程序有一个简单的 UI,用于生成一系列值之间的随机数:
我们还有一个 / status Rest 端点返回 HTTP 状态代码。我们将使用 Cucumber 和 Junit 5通过验收测试来涵盖这两个功能。
为了使 cucumber 能够与 Junit 5 一起使用,我们必须在 pom 中声明 cucumber – junit-platform-engine 作为其依赖项:
<dependency>
    <groupId>io.cucumber</groupId>
    <artifactId>cucumber-junit-platform-engine</artifactId>
    <version>6.10.3</version>
</dependency>
3. Cucumber标签和条件钩子
Cucumber 标签可以帮助我们将场景分组在一起。假设我们对测试 UI 和 API 有不同的要求。例如,我们需要启动浏览器来测试 UI 组件,但调用 /status 端点则不需要。我们需要的是一种方法来确定要运行哪些步骤以及何时运行。黄瓜标签可以帮助我们做到这一点。
4. 用户界面测试
首先,让我们通过标签将 功能 或 场景 分组在一起。这里我们用 @ui 标签来标记我们的 UI 功能:
@ui
Feature: UI - Random Number Generator

  Scenario: Successfully generate a random number
    Given we are expecting a random number between min and max
    And I am on random-number-generator page
    When I enter min 1
    And I enter max 10
    And I press Generate button
    Then I should receive a random number between 1 and 10
然后,根据这些标签,我们可以使用条件挂钩来操纵为这组功能运行的内容。我们使用单独的 @Before 和 @After 方法来执行此操作,并在 ScenarioHooks 中用相关标签进行注释:
@Before("@ui")
public void setupForUI() {
    uiContext.getWebDriver();
}
@After("@ui")
public void tearDownForUi(Scenario scenario) throws IOException {
    uiContext.getReport().write(scenario);
    uiContext.getReport().captureScreenShot(scenario, uiContext.getWebDriver());
    uiContext.getWebDriver().quit();
}
5.API测试
与我们的 UI 测试类似,我们可以使用 @api 标签来标记我们的 API 功能:
@api
Feature: Health check

  Scenario: Should have a working health check
    When I make a GET call on /status
    Then I should receive 200 response status code
    And should receive a non-empty body
我们还有带有 @api 标签的 @Before 和 @After 方法:
@Before("@api")
public void setupForApi() {
    RestAssuredMockMvc.mockMvc(mvc);
    RestAssuredMockMvc.config = RestAssuredMockMvc.config()
      .logConfig(new LogConfig(apiContext.getReport().getRestLogPrintStream(), true));
}

@After("@api")
public void tearDownForApi(Scenario scenario) throws IOException {
    apiContext.getReport().write(scenario);
}
当我们运行 AcceptanceTestRunnerIT 时, 我们可以看到正在为相关测试执行适当的设置和拆卸步骤。
六,结论
在本文中,我们展示了如何使用 Cucumber 标签和条件挂钩来控制不同测试集的执行及其设置/拆卸指令。
与往常一样,本文的代码可以在 GitHub 上获取。
