1. Introduction
Kotlin/Native is an extension of the Kotlin programming language that allows developers to compile Kotlin code to native machine code, enabling them to build high-performance applications for a variety of platforms.
This means that Kotlin code can now run directly on operating systems without the need for a virtual machine or interpreter. Kotlin/Native provides developers with the ability to write code in Kotlin that can be used to build native apps for platforms like Linux, macOS, Windows, Android NDK, and iOS.
For developers who are already familiar with Kotlin and have been working with it as part of the Kotlin/JVM project, using Kotlin/Native should be pretty simple. However, the standard library for Kotlin/JVM is not available for Kotlin/Native. This means that while the syntax remains the same, some classes and functions that are available in Kotlin/JVM may not be available in Kotlin/Native, and vice versa.
It’s important to keep these differences in mind when writing code for Kotlin/Native. Additionally, Kotlin/Native provides some platform-specific functionality that we can use to interact with the underlying system.
In this article, we’ll cover some of these differences in more detail and walk through the basics of setting up a Kotlin/Native project. We’ll also briefly explore some of its advanced features.
2. Getting Started With Kotlin/Native
Before starting to use Kotlin/Native, we need to install the appropriate tools on our development machine.
Let’s start with a simple example using the command-line compiler.
2.1. Using the Command-Line Compiler
First, we need to download and install the latest version of the compiler. The Kotlin/Native compiler is shipped as part of the standard Kotlin distribution and can be downloaded from the official releases page. It’s available as a command-line tool for macOS, Linux, and Windows.
The Kotlin/Native compiler supports cross-platform compilation, which means we can use the compiler on one platform to compile for a different one.
Although the output of the compiler doesn’t have any dependencies or virtual machine requirements, the compiler itself depends on a Java 8 or higher runtime.
After downloading, we need to install the compiler by simply unpacking the archive to a preferred directory. Then we have to add the path to the /bin directory, located in the root of the archive, to the PATH environment variable.
Now, let’s create a file, example.kt, with a simple function that prints a string:
fun main() {
    println("Hello, Baeldung!")
}
Next, we need to go to the command line and compile the application:
kotlinc-native example.kt -o example
As we can see, the compile command consists of two parts: the source code file and the output file specified by the -o option.
After executing the command, the compiler will generate an executable file named example.kexe for Linux and macOS or example.exe for Windows.
Let’s launch the program from our CLI:
./example.kexe
This is a basic example, but it won’t scale with complex projects containing multiple files and libraries. The better option will be using a build system and IDE.
2.2. Using a Build System and IDE
Speaking of build systems, Kotlin/Native only supports Gradle. As for the IDE, we’ll be using IntelliJ IDEA.
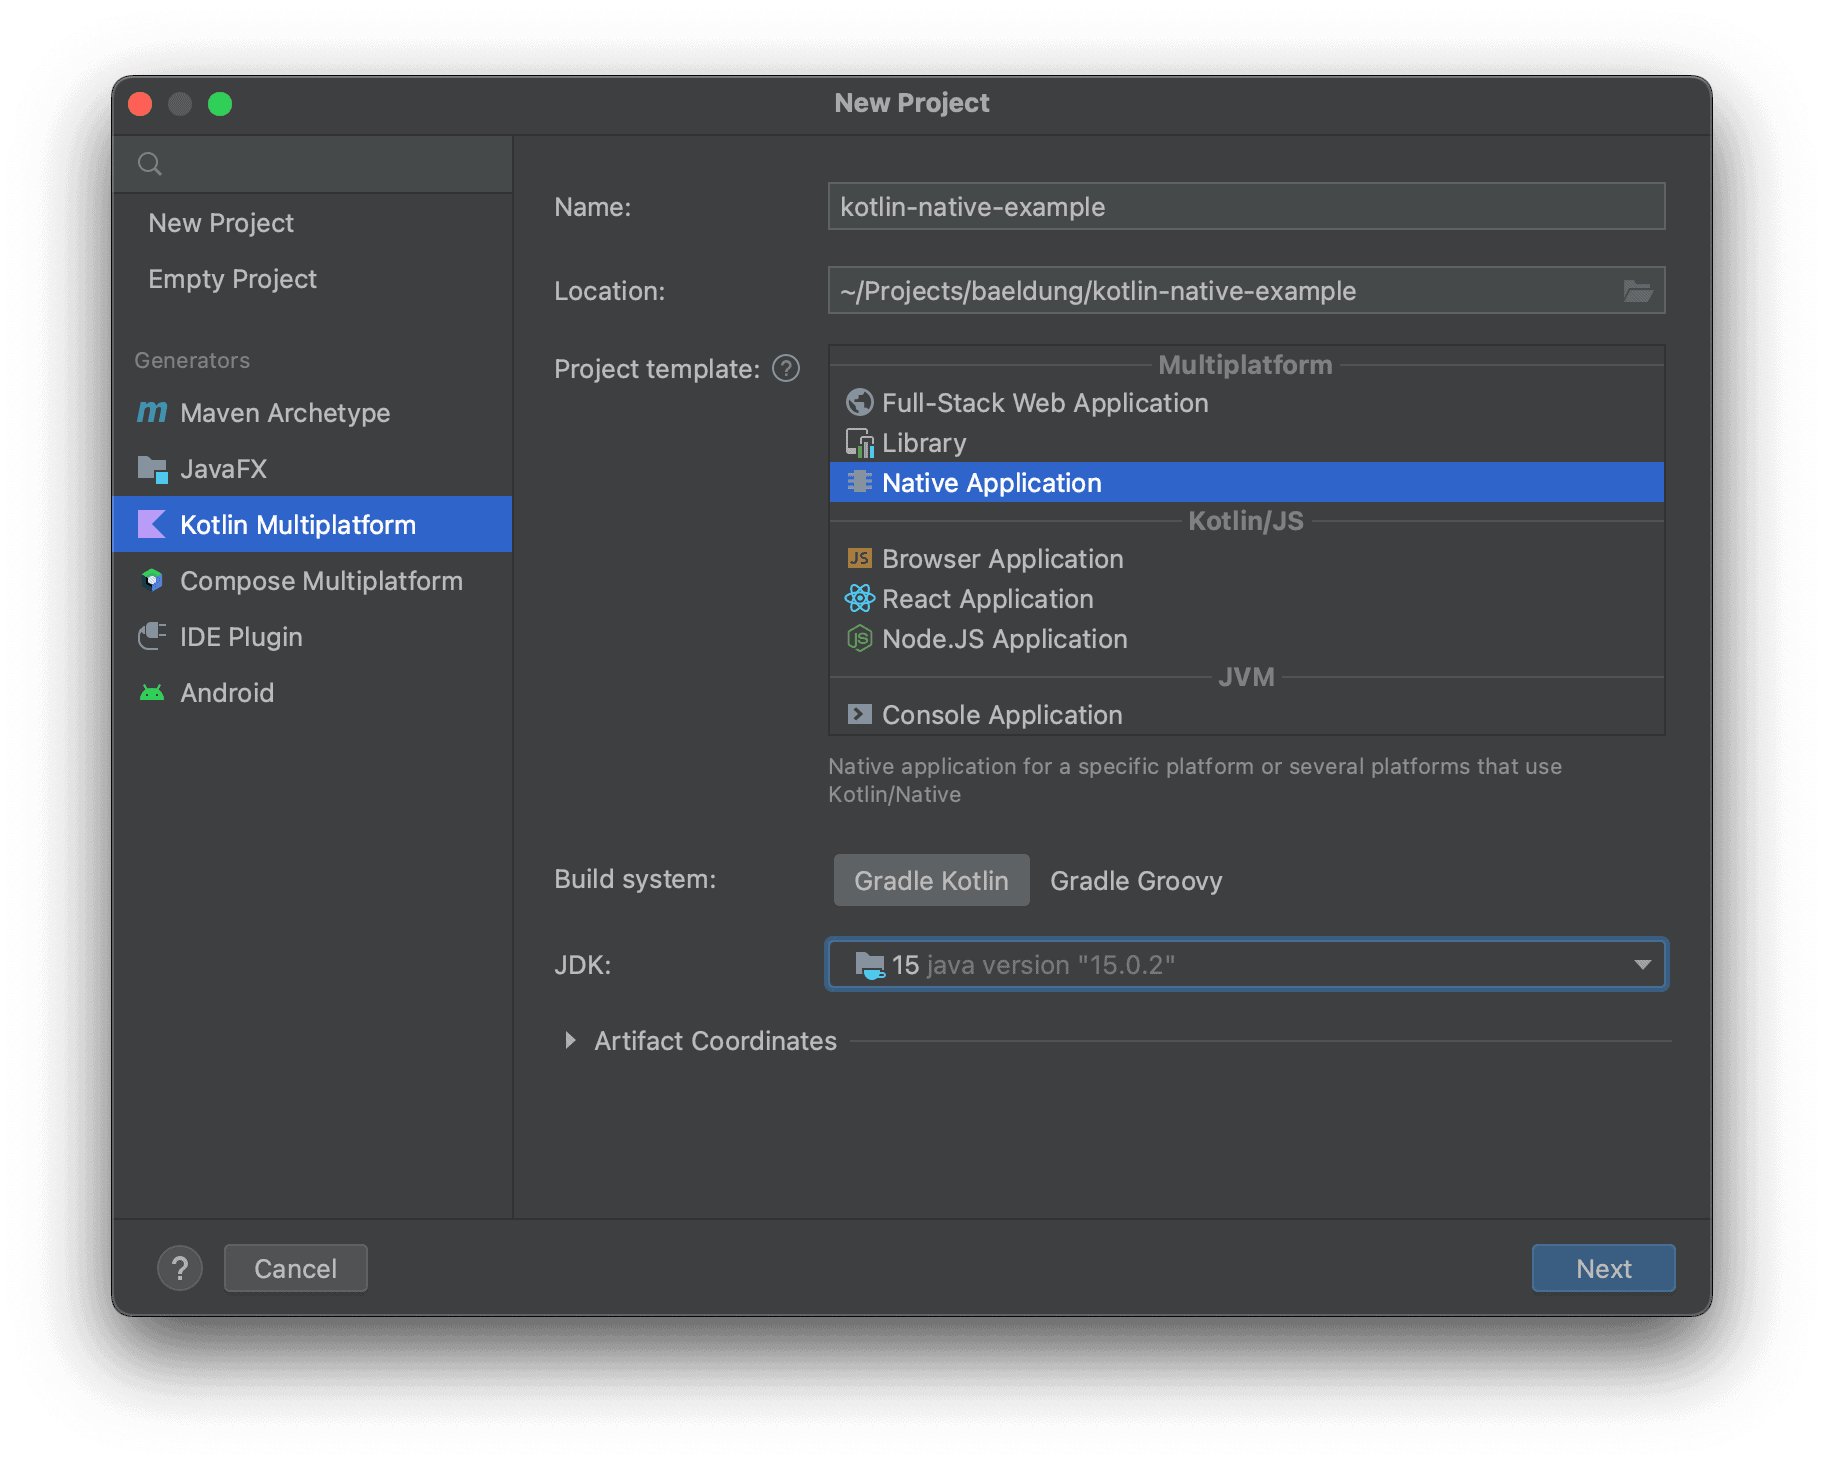
Let’s start by creating a new project, by selecting File -> New -> Project. Then, select Kotlin Multiplatform in the left panel, select Native Application as the project template, enter a project name in the main panel, and click Next:
Our project will use Gradle with Kotlin DSL as the build system by default.
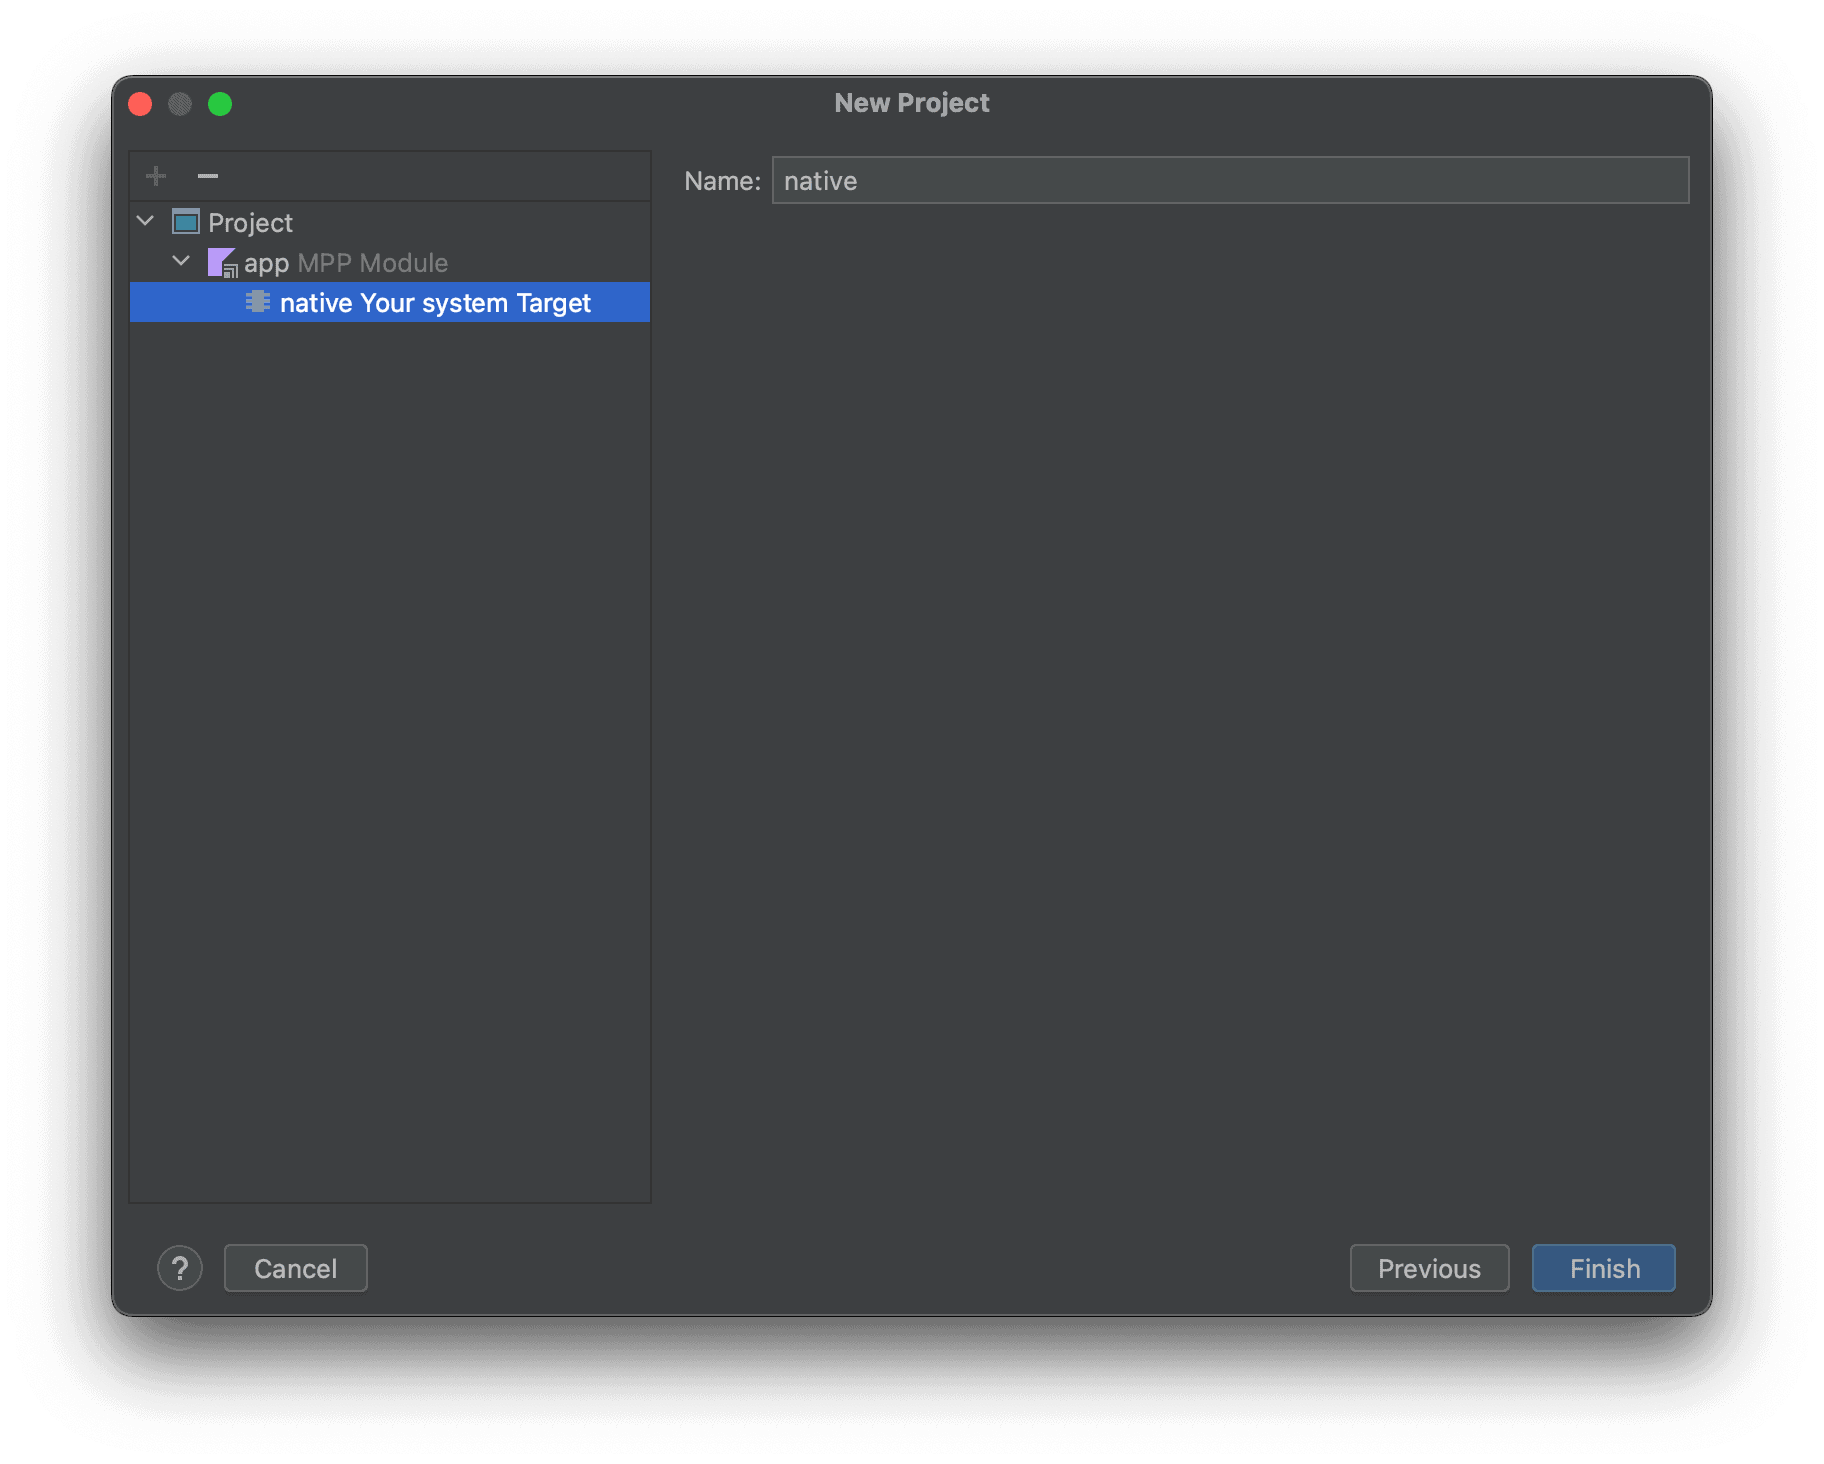
Then, we’ll accept the default configuration on the next screen and click Finish:
The IntelliJ wizard will create the necessary Main.kt file with sample code by default. It will generate all necessary files for Gradle, too.
Let’s check the contents of build.gradle.kts to understand the key points of building the Kotlin/Native project with Gradle.
We’re most interested in this particular section:
kotlin {
    val hostOs = System.getProperty("os.name")
    val isMingwX64 = hostOs.startsWith("Windows")
    val nativeTarget = when {
        hostOs == "Mac OS X" -> macosX64("native")
        hostOs == "Linux" -> linuxX64("native")
        isMingwX64 -> mingwX64("native")
        else -> throw GradleException("Host OS is not supported in Kotlin/Native.")
    }

    nativeTarget.apply {
        binaries {
            executable {
                entryPoint = "main"
            }
        }
    }
}
First, we see that to define the target platforms, we have to use macOSX64, linuxX64, or mingwX64 for macOS, Linux, or Windows, respectively. The “native” parameter corresponds to the name of the project module, which in this case is named nativeMain.
In the second part, we define the entry point to the application.
3. Interoperability With Native Frameworks
Kotlin/Native provides interoperability with existing platform software, which is a key feature of the Kotlin programming language.
3.1. Interoperability With C
When working with a native platform, the primary target for interoperability is typically a C library. To facilitate this, Kotlin/Native includes a cinterop tool that can generate everything needed to interact with an external C library.
Whenever we need to work with a native library using Kotlin/Native, we need to follow three main steps:
- Create a .def file that describes which parts of the library to include in the bindings. This file can specify things like which functions to include, which types to expose, and which constants to define.
- Use the cinterop tool to generate Kotlin bindings based on the .def file. The tool analyzes the C headers of the library and produces a “natural” mapping of the types, functions, and constants into the Kotlin world. This mapping makes it easy to work with the library in Kotlin. We can import the generated stubs into an IDE for code completion and navigation.
- Compile the Kotlin code that uses the library using the Kotlin/Native compiler. This produces a final executable that can be run on the target platform.
Overall, the cinterop tool provided by Kotlin/Native makes it easier to work with existing C libraries when developing Kotlin applications for native platforms. By following this workflow, developers can quickly generate Kotlin bindings for a C library and start using it in their Kotlin codebase.
3.2. Interoperability With Swift and Objective-C
Similarly to interoperability with C, Kotlin/Native offers the ability to use Objective-C frameworks and libraries in Kotlin code. It’s important to properly import the necessary frameworks or libraries to the build, except system frameworks, since they’re imported automatically.
If a Swift library’s API is exported to Objective-C with @objc, it can also be used in Kotlin code. However, pure Swift modules are not supported yet.
Unlike interoperability with C, Kotlin/Native provides bidirectional interoperability with Objective-C, which means that Kotlin modules can be used in Swift/Objective-C code if they are compiled into a framework.
Nevertheless, certain features of the Kotlin programming language do not correspond to their respective counterparts in Objective-C or Swift, and as a result, they are not correctly exposed in the generated framework headers.
An example of a Kotlin feature that does not map well to Objective-C is inline classes. If the inline class is wrapping a primitive type, it will map to the corresponding primitive in Objective-C, but if the inline class wraps an object such as a String, it is mapped to the Objective-C id type. Additionally, custom classes implement standard Kotlin collection interfaces such as List, Map, Set, and some other special classes. Finally, there’s no support for Kotlin subclasses of Objective-C classes.
4. Advanced Features of Kotlin/Native
Now, let’s briefly explore some of the advanced features of Kotlin/Native.
4.1. Memory Management
Kotlin/Native uses a memory manager that is similar to other mainstream technologies such as the JVM and Go. The memory manager uses a shared heap for storing objects that any thread can access.
The system also includes a tracing garbage collector, which periodically collects objects that are not accessible from the “roots”, like local and global variables. The memory manager is the same for all Kotlin/Native targets, except for wasm32, which only supports the legacy memory manager.
4.2. Immutability and Concurrency
When we need to work with legacy memory management, we should keep in mind immutability and concurrency aspects.
Kotlin/Native enforces strict mutability checks to ensure that objects are either immutable or accessible from a single thread, which is achieved through the use of the kotlin.native.concurrent.freeze() function.
Some objects are immutable by default like kotlin.String, kotlin.Int, and other primitive types. Applying a mutating operation to such objects results in throwing an InvalidMutabilityException.
When it comes to concurrency in Kotlin/Native, it’s recommended that we use a collection of approaches such as workers, object transfer and freezing, and usage of atomic primitives and references. They allow us to use hardware concurrency and implement blocking IO, as opposed to the classical thread-oriented concurrency model with mutex code blocks and conditional variables, because of its known unreliability.
5. Important Considerations for Kotlin/Native
It’s important to keep in mind such things as failing to free memory, which can lead to memory leaks and degraded performance. It’s also important to be aware of the differences between Kotlin and C, since C uses pointers and manual memory management. This can be unfamiliar to Kotlin developers.
In terms of security, we should pay attention to the security of the C libraries that we use in our project to avoid potential code injection attacks. We can also use Kotlin/Native’s features for secure memory handling, such as clearing sensitive data from memory after it’s no longer needed, to prevent security breaches.
6. Conclusion
In this article, we’ve learned how to get started with Kotlin/Native and how we can use it to build high-performance applications for a variety of platforms using native machine code. We’ve also explored how to set up Kotlin/Native projects, using both the command line and Gradle or using IntelliJ.
We learned about features such as interoperability with C and Objective-C/Swift languages, as well as some advanced features, like memory management, immutability, and concurrency.
Finally, we looked through some of the best practices and pitfalls to avoid when working with Kotlin/Native.
All examples and code snippets from this tutorial can be found over on GitHub.