1. Overview
Vim is a widely used text editor in Linux systems. It is useful in carrying out various types of text editing tasks, and it also allows the end-users to customize its interface.
In this tutorial, we’ll learn how to set the vim background colors.
2. Vim Color Schemes
As a typical vim user, we can modify color schemes that are available with the software package. In addition, we can also download customized color schemes. Besides, we can be in charge of the color schemes in vim using its startup file.
Vim is available in the command-line interface (CLI) or graphical user interface (GUI). In this article, we’ll explore the techniques for setting the background color in the command-line interface.
2.1. Viewing Color Schemes
There are multiple color schemes that are present in the local Linux system. Post-installation, the text editor utilizes the default color scheme, which differs from one system to another depending on the terminal background (either light or dark).
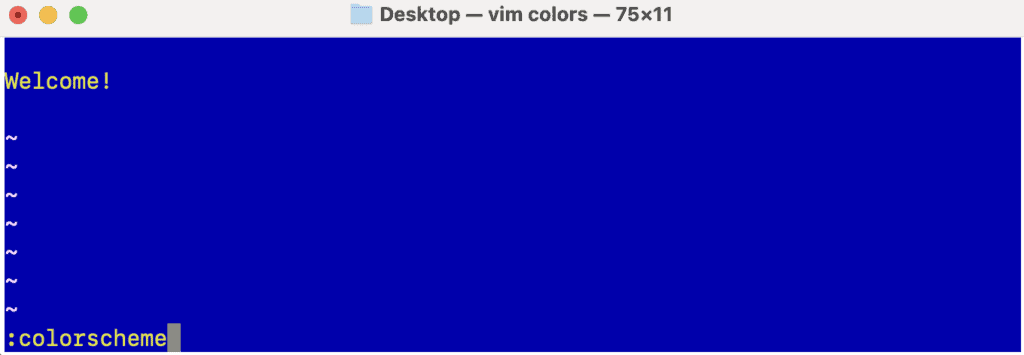
If we want to get the list of available color schemes, let’s start a vim session and enter the colorscheme command:
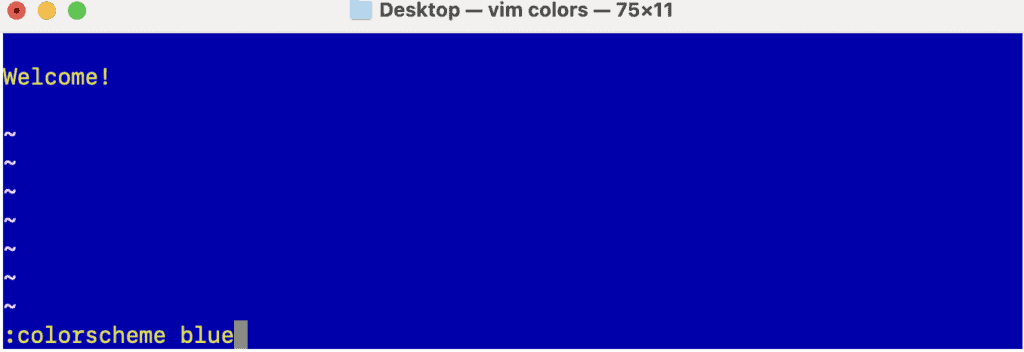
 To obtain all the color schemes available in the system automatically, we’ll again use the colorscheme command in the below format:
:colorscheme + space + tab
On running the above command, we’ll get the output as blue:

If we continue pressing the Tab key, we can run through all the default color schemes. It normally includes a wide range of colors, including dark blue, default, red, desert, evening, elf lord, and more.
2.2. Modifying the Color Scheme
We can modify the color scheme of the vim text editor to the scheme of our choice. To modify the color of the vim color text editor to the evening color, the colorscheme command is:
:colorscheme evening
Or, we can abbreviate the colorscheme command:
:color evening
After running the command above, we have set the text editor to the evening color scheme:

2.3. Download Color Schemes
There are many customizable color schemes that may not be available in our Linux system by default. We can download these from a remote source such as GitHub.
After downloading the latest color schemes to our local Linux system, we need to transfer them to the ~/.vim/colors directory. If this directory doesn’t exist, let’s create it:
$ mkdir ~/.vim/colors
Next, we have to move the downloaded color schemes to the ~/.vim/colors directory:
$ mv ~/Downloads/colorscheme_downloaded ~/.vim/colors
In the above example, ~/Downloads/colorscheme_downloaded is the directory where the downloaded color schemes are currently available.
It must be noted that all the changes made to the color schemes remain only as long as a vim session is active. Once we end that session, the background color scheme gets reset to the default one.
3. Configure Vim Background Colors Manually
We can configure vim background colors manually with the help of the highlight command. To set the vim background color to black, the command is:
:highlight Normal ctermfg=white ctermbg=black
Or, we can use the shortened form:
:hi Normal ctermfg=white ctermbg=black
Here, the command highlight refers to the instruction.
After highlight, we have used Normal in the above command. It points to the Group. Here, Normal means a normal text. The Group includes:
- Normal refers to ordinary text
- NonText refers to characters that are not considered as text
- Cursor refers to a cursor
- ErrorMsg refers to messages depicting errors
The ctermfg=white is used to set the foreground color to white in a terminal text editor. Finally, the ctermbg=black is used to set the background color to black in a terminal text editor.
On running the command above, we’ll get the vim text editor in black background color:

4. Configure Vim Background Colors Permanently
Once we come out of a vim session, the modifications we’ve made to the color scheme are discarded and the color scheme resets to the default one in the next session. Therefore, we need to update the configuration file of vim with the colors of our choice. This makes the changes persistent.
Let’s access the vim startup file .vimrc available in either the user’s home directory or the /etc directory. The .vimrc file holds the elective runtime settings that get initialized once a vim session begins. We’ll add the color scheme that we want with the help of the colorscheme command:
:colorscheme white
In the above example, we’ve configured the default background to the white color.
5. Conclusion
In this article, we learned how to set the vim background colors with the help of the colorscheme and highlight commands. In addition, we discussed how to configure the vim background color change to be permanent.