1. Overview
In this tutorial, we’ll see how to use vim to edit multiple files at the same time.
We’ll start with a brief introduction to buffers, which are the vim way of handling multiple files. Then, we’ll discuss arguments, window-splitting, and tabs. We can open all files at the beginning from the terminal or open them once vim has started. For each case, we’ll also discuss how to move between the different buffers.
2. What Are vim Buffers?
A buffer is every file loaded into memory to be edited. Thus, all open files are associated with a buffer.
vim identifies each buffer with a unique number and a name. We can open buffers from files and create new empty buffers.
After a while, we might get lost when we have multiple buffers. We can check all the buffers that we have open:
:ls
   1 #      "fileA.txt"    line 0
   2        "fileB.txt"    line 0
   3 %a     "[No Name]"    line 1
Press ENTER or type command to continue
In this example, we’ve three buffers: fileA.txt, fileB.txt, and an empty buffer without an associated file on disk.
There are several ways to move between the buffers:
- go to a specific buffer N with :bN (for example :b1 will show the first buffer)
- move to the next buffer with :bn
- go to the previous buffer with :bp
- reach the first buffer with :bf
- get to the last buffer with :bl
Once we’ve finished, we can close the current buffer with :bw.
3. Opening Multiple Files as Arguments
To open multiple files from the command line, we simply need to call vim with all the files as arguments:
$ vim fileA.txt fileB.txt
This opens two buffers, one for each file. However, when vim opens, we only see the buffer for the first file.
To know how many files we have opened from the command line, we can use the :args command:
:args
At the bottom of the screen, we’ll see the arguments (fileA.txt and fileB.txt) with the current buffer (fileA.txt) within square brackets:
~
[fileA.txt]  fileB.txt                           0,0-1         All
The output of :args can be different from the output of :ls. As mentioned, arguments are a subset of the buffers. This means that we can open a file and get a new buffer, but it won’t appear in the output of :args because it wasn’t used as an argument.
If we want to open another file and add it to the list of arguments, we can simply append it to the list:
:argadd fileC.txt
Apart from adding a new file as an argument, we may want to directly edit it. To do so, we can use argedit:
:argedit fileD.txt
This adds the argument and displays the buffer on the screen.
3.1. Differences Between Buffers and Arguments
The differences between buffers and arguments are subtle. Buffers can only be opened one by one (with :e), but we can add multiple arguments at the same time (which will internally result in multiple buffers) by using wildcards:
:argadd file*.txt
Moreover, the difference between arguments and buffers is relevant for commands like :bufdo and :argdo, which apply a certain action to the buffer or argument list, respectively.
3.2. Handling vim Arguments
Next, we’ll see how to navigate between these argument files.
To move to the next file, we use :n (which is a shortcut for :next). To go to the previous file there are two shortcuts, :prev (shotcut for :previous) and :N (note that :p is a shortcut for :print):

When switching between files, we can also request writing the file to disk with :wn and :wN.
There are other, more visually-intuitive alternatives to multiple arguments that we’ll discuss next.
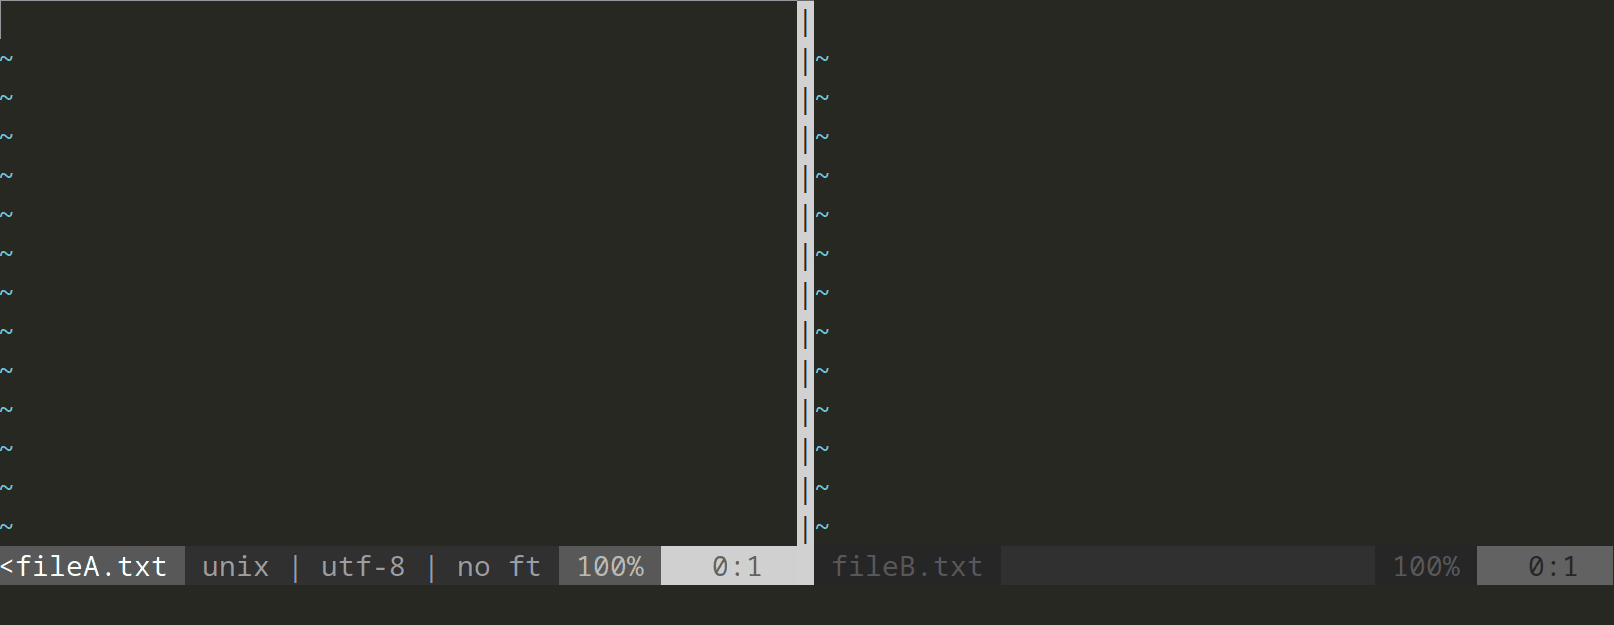
By default, when we open vim we get a single window, which is a container to display a buffer. To directly open multiple buffers in vertically split windows, we use the -O flag:
$ vim -O fileA.txt fileB.txt

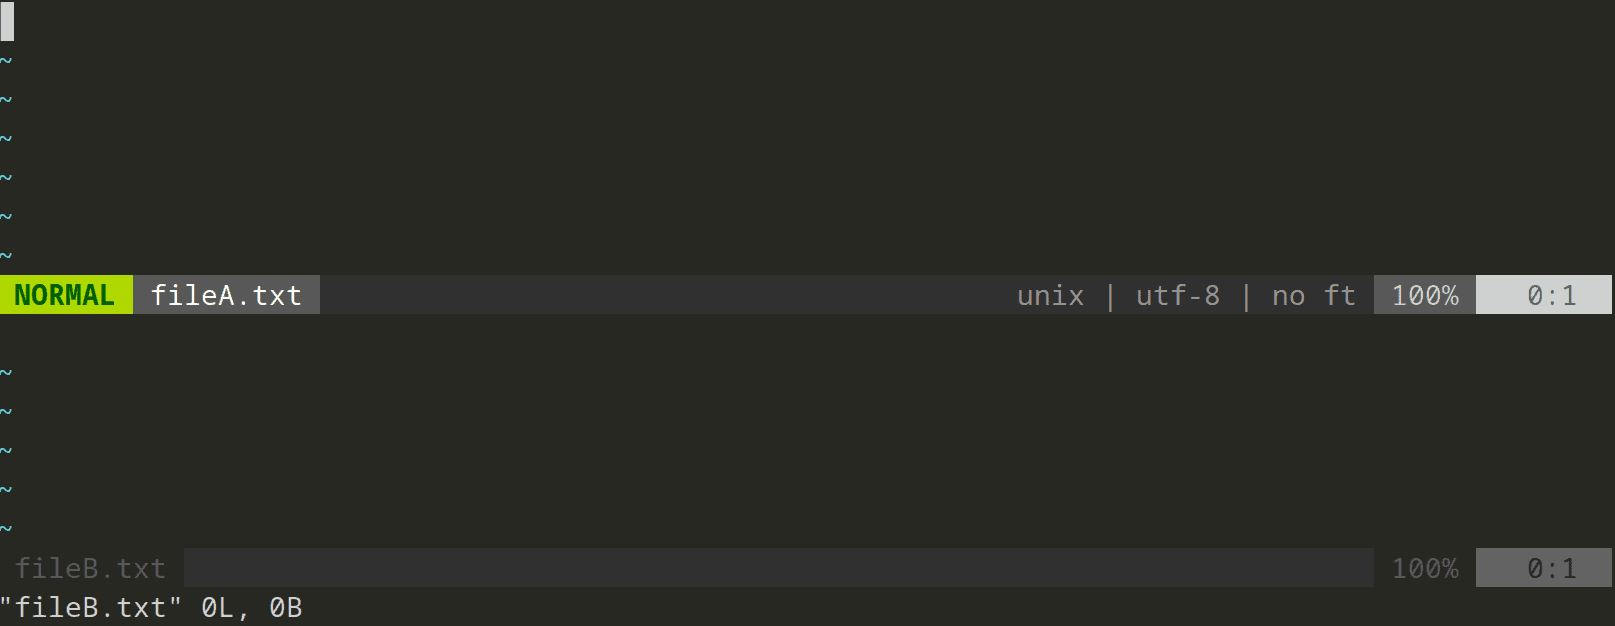
We can also use horizontally split windows with the -o flag:
$ vim -o fileA.txt fileB.txt

Within vim, we can open a new file in a buffer and display it in a new window with a single command, which is the following for a horizontal window:
:sp fileC.txt
If we want a vertical window, we replace :sp with :vsp:
:vsp fileD.txt
To move between windows, *we can use either Ctrl+w [arrow_key] or Ctrl+w [h/j/k/l]* (which correspond to left, down, up, and right, respectively):
![Switching between window splits in vim with Ctrl+w [hjkl]](/wp-content/uploads/sites/2/2022/09/window-switching-1.png)
As we’ve already discussed, we can control the size and aspect of the split windows on the fly, which lets us adjust the space for each buffer.
5. Opening Multiple Files in Tabs
Tabs are containers for one or more windows. Tabs appear at the top of the terminal with the name of the buffer being edited (fileA.txt and fileB.txt in this case):

If we already know that there are multiple files we want to edit at the same time, we can open all these files in vim in tabs from the command line with the -p flag:
$ vim -p fileA.txt fileB.txt
vim also creates two buffers, one for each file, which it displays as tabs. When we’re already in vim and need to open another file to edit, we can open it in a tab from the command mode:
:tabe fileC.txt
Once we have all files that we want to edit, we need to switch between the tabs. Once again in command mode, we use gt to go to the following tab, while gT goes to the previous one:

There are some cases where we can switch between tabs by pressing Ctrl+Alt+PageUp and Ctrl+Alt+PageDown. However, this might not work in all systems by default.
Finally, when we have many files, there’s another key combination that allows us to jump to a given tab. If we want to go to the Nth tab, we press Ngt. Thus, for the first tab, we need to press 1gt.
6. Conclusion
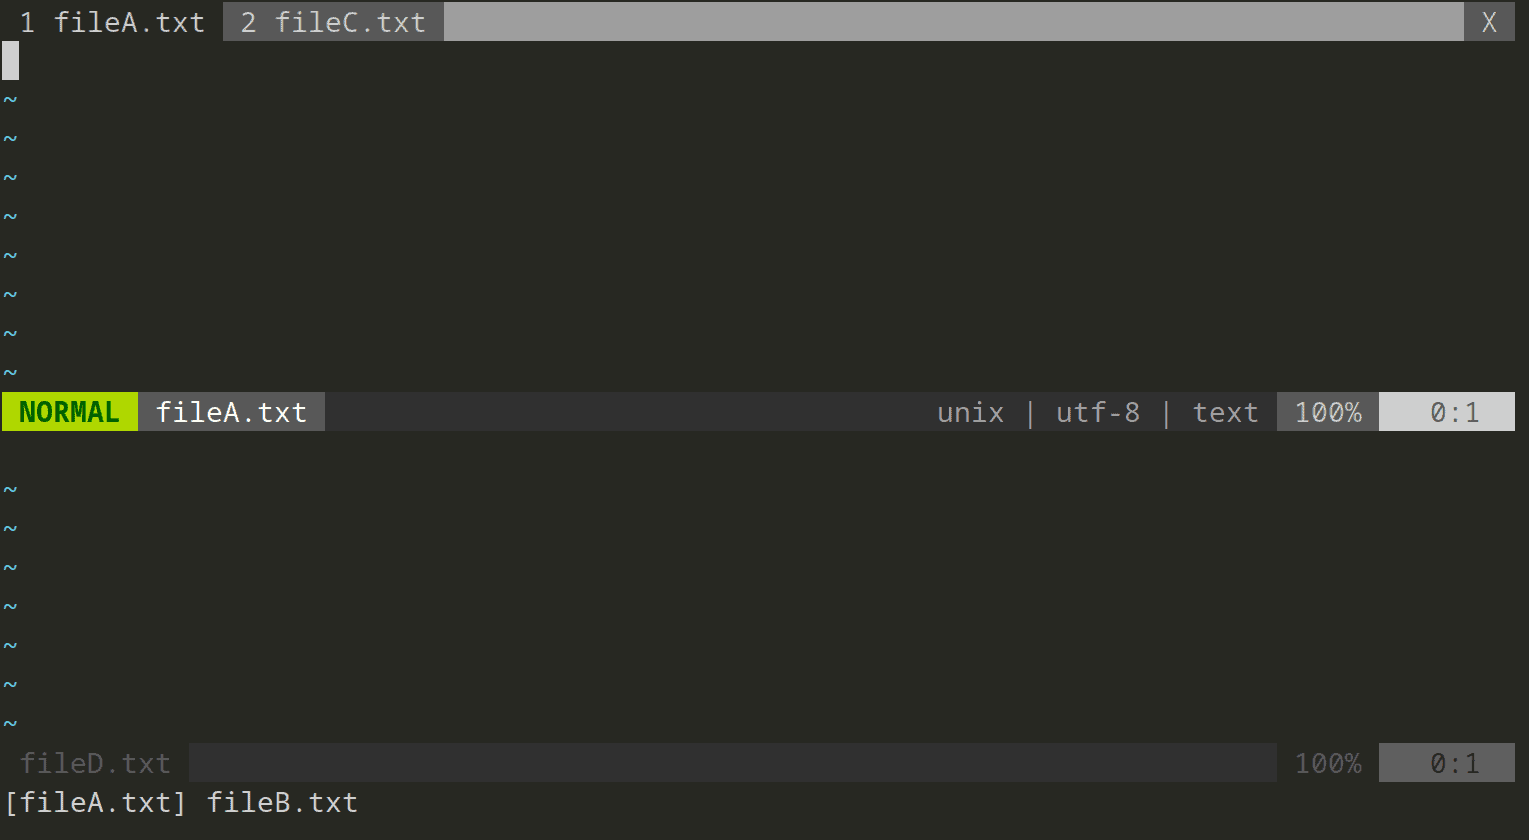
In this article, we’ve seen three different ways to edit multiple files in vim at the same time. Everything starts with buffers and gets complemented with arguments, windows, and tabs. We can also combine several of these approaches in a single session of vim, as all of them are subsets of all the buffers:

In this case, we opened vim with two arguments (fileA.txt and fileB.txt). Then, we opened a new tab with fileC.txt and split the editor horizontally with fileD.txt. This results in 4 buffers that will allow us to edit multiple files simultaneously!