1. Overview
Vim is a popular text editor among users of Unix-like operating systems such as Linux. It’s an improved version of the old vi editor, and it comes with features that can help write code, manage files, and more.
In this tutorial, we’ll walk through the different Vim packages available on Linux. We’ll look at what makes each one unique, what they’re typically used for, and more.
We tested the instructions in this tutorial on Ubuntu 22.04 LTS (Jammy Jellyfish) and its native apt package manager.
2. Understanding Vim Packages
Vim isn’t a one-size-fits-all editor. Hence, Linux distributions offer a variety of packages, each with its strengths and weaknesses to suit different needs.
In addition, we can find simple and lightweight packages that are perfect for quick edits, especially on older machines.
There are also feature-rich ones that include a graphical user interface (GUI) and support various scripting languages.
As a result, this variety enables us to find the perfect Vim that aligns with our workflow and preferences.
3. Comparing Vim Variants
Now that we’ve covered the basics of Vim packages, let’s go deeper into the various variants available on Linux systems.
Notably, each variant brings its unique flavor to the table and caters to different preferences and use cases. By understanding their strengths and weaknesses, we’re better equipped to pick the ideal editor for the current tasks and challenges.
3.1. vim
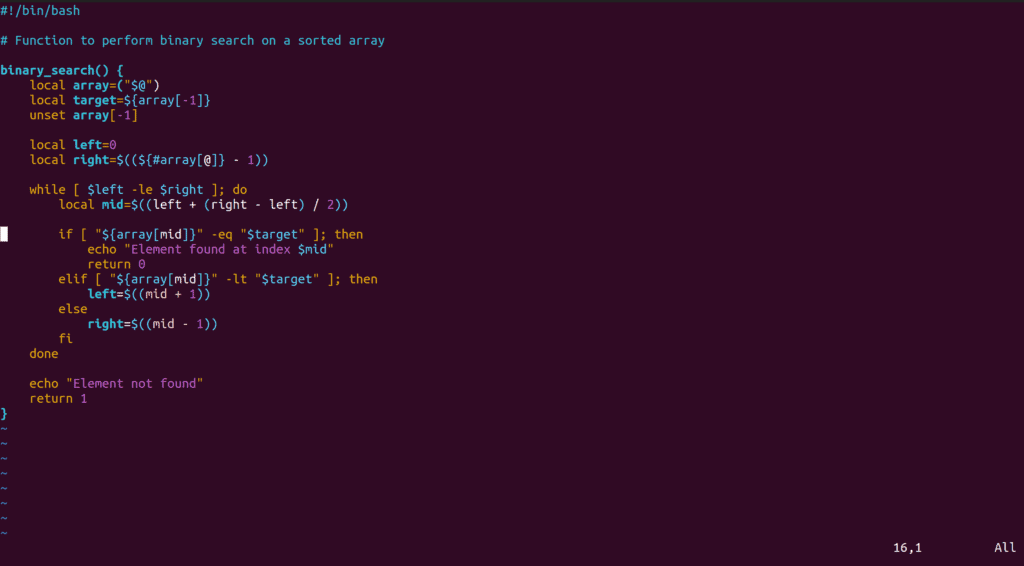
This is the standard Vim package and is present on many Linux systems. It offers a comprehensive set of features for everyday text editing.
The package is a great choice for those comfortable working in the terminal and don’t fancy graphical elements or advanced scripting capabilities:
Now, let’s install the package:
$ sudo apt install vim
Notably, vim doesn’t come with built-in support for scripting languages like Python or Ruby. However, we can easily extend the editor functionality using plugins. That’s to say, we can add features like syntax highlighting, code completion, and more.
3.2. vim-tiny
If we’re working with an older machine or prefer a lightweight editing tool, vim-tiny is a suitable choice. The highlight of this Vim variant is its speed and minimalism.
Furthermore, it’s the default editor on Ubuntu and is stripped down to the essentials. Therefore, this feature makes it incredibly fast and resource-friendly:
To give this package a try, let’s install it with a simple command:
$ sudo apt install vim-tiny
Still, vim-tiny doesn’t support Perl, Ruby, Python, or TCL scripting. It also lacks fancy features like multi-level undo.
3.3. vim-nox
vim-nox is designed for those who prefer to work in the terminal without the distraction of a graphical interface. The package also offers the power of scripting languages like Perl, Python, Ruby, and TCL.
Above all, its scripting capabilities enable us to create powerful macros, build custom plugins, and streamline the overall editing experience:
Now, let’s install vim-nox:
$ sudo apt install vim-nox
In addition, vim-nox lacks clipboard support. However, its ability to leverage scripting languages more than compensates for this minor inconvenience.
3.4. vim-athena
If a graphical interface is preferred, vim-athena is a good fit. Unlike the other graphical Vim packages that use the GTK toolkit, this one uses the Athena toolkit. Consequently, this difference gives it a distinct appearance.
In addition, with its lightweight GUI, vim-athena offers a visual editing experience without sacrificing the core functionalities of Vim:
So, let’s see how to install vim-athena:
$ sudo apt install vim-athena
This package is a great choice if we want to use a graphical Vim with a unique interface that also supports scripting.
3.5. vim-gtk
vim-gtk could be for users who are fans of graphical user interfaces and prefer a desktop environment like GNOME built on the GTK toolkit. This package takes the power of the main editor and wraps it in a familiar GUI, so we get the best of both worlds.
With vim-gtk, we have all the usual Vim features at our fingertips. On top of that, we also have the added convenience of menus, toolbars, and mouse support:
To install vim-gtk, we again use apt:
$ sudo apt install vim-gtk
In addition, we can use vim-gtk to automate tasks and customize workflow. Thus, it’s used to build plugins using scripting languages like Perl, Ruby, TCL, and Python.
3.6. vim-gtk3
For Linux users who are into graphical interfaces and use the GNOME desktop environment, vim-gtk3 is a natural fit. This package is built with the GTK3 toolkit, the foundation of GNOME’s visual style.
As a result, it blends well with the GNOME desktop, giving us a consistent look and feel.
Like other GUI-based Vim packages, vim-gtk3 gives us the best of both worlds – the power and flexibility of the main editor mixed with familiar features like menus, toolbars, and mouse support:

Let’s install vim-gtk3:
$ sudo apt-get install vim-gtk3
In addition, it’s used to automate tasks, create custom plugins, and take full advantage of the Vim scripting capabilities.
4. Essential Vim Plugins
With plugins, we can add new features, customize workflow, and turn Vim into the perfect text editor.
Let’s now look at some essential plugins that can take the editing experience to the next level.
4.1. Plugin Managers
To make the most out of Vim, we use plugins. These handy add-ons provide extra features and make life easier. Yet, with so many plugins out there, things can get a bit messy. So, that’s where plugin managers come in.
Moreover, plugin managers help us install, update, and remove plugins without having to fiddle with files manually. This keeps the editor setup neater. In addition, it makes it effortless to try out new plugins whenever we want.
Now, let’s briefly explore some of the most popular plugin managers for Vim:
- Pathogen: keeps all plugins in separate directories, making them easy to find
- Vundle (Vim bundle): manages plugins and also helps us search for new ones
- vim-plug: this is a newer plugin manager that’s fast and easy to use
Most importantly, using any of these tools makes it straightforward to add new features to the current setup.
4.2. Code Completion Plugins
Code completion plugins are pretty handy when writing code in Vim. They act like assistants, suggesting what we might be attempting to type. This can save a lot of time and effort.
Let’s take a quick peek at some of these plugins that can boost coding efficiency:
- YouCompleteMe (YCM): the package works with many programming languages and provides suggestions as we type
- deoplete: versatile and supports a bunch of programming languages
- coc.nvim (Conquer of Completion): although primarily designed for Neovim, we can use coc.nvim with Vim, and it provides complete Language Server Protocol (LSP) support that offers even smarter suggestions
In short, with any of these plugins, we get context-aware suggestions and see what parameters a function takes.
4.3. File Exploration Plugins
File explorer plugins enable us to browse a project’s structure, open files in a few strokes, and even do basic things like creating, deleting, or renaming files, all without leaving Vim.
Now, let’s learn about a few file explorer plugins that can help us stay organized:
- NERDTree: a classic plugin that shows us a tree-like view of files in a sidebar and is pretty handy for jumping between different files
- fzf.vim: great for those of us who like fuzzy finding (searching for something even if we don’t know the exact name)
- CocExplorer: gives us a modern file explorer with multiple features right inside the editor
These file explorers make it easy to move between project files. Consequently, they improve workflow and make using Vim an interesting experience.
4.4. Syntax Highlighting and Linting
Syntax highlighting and linting are like superpowers for code editors. They make code more readable and help us spot errors before they become problems.
Let’s take a look at some plugins that offer these features:
- vim-polyglot: supports a large number of programming languages and makes code more colorful and easy to read
- ALE (Asynchronous Lint Engine): works in the background and scans code for potential problems as we type
- syntastic: great for finding pesky errors that can cause programs to crash
In conclusion, with these plugins, we can keep code clean, well-organized, and error-free. Hence, it’s like having a personal code assistant built right into the editor.
4.5. Git Integration
For those who use Git for version control, there are Vim plugins that can make life much better. Such plugins bring Git right into the editing environment.
This makes it easier to perform common Git operations like committing changes, viewing diffs, and managing branches without exiting the editor.
Now, let’s explore some Git integration plugins for Vim:
- fugitive.vim: a comprehensive plugin that provides a wide range of Git commands that we can run directly from the editor
- vim-gitgutter: shows us which lines have been modified, added, or deleted in the current file
- coc-git: adds features like blame annotations and the ability to manage chunks of code
Therefore, with these plugins, we can easily manage Git projects without switching back and forth between editor and terminal.
Most importantly, it’s a real time-saver and can help us stay focused on the project at hand.
5. Conclusion
In this article, we took a quick tour of the Vim packages available on Linux with apt. Each of these packages comes with their unique features and strengths.
Therefore, whether we prefer a minimalist command-line experience or a full-featured GUI, there’s a package that can meet the current requirements.