1. 简介
在如今的云原生时代,我们越来越多地将应用部署在无需关心底层基础设施的环境中,例如 Serverless 架构和 FaaS(Function as a Service)。在这些环境中,实例频繁创建和销毁,启动时间和首次请求响应时间就变得尤为重要,直接影响用户体验。
JavaScript 和 Python 等语言在这些场景中占据主导地位。而 Java 由于其“胖 JAR”和较长的启动时间,往往难以胜任。本文将介绍 Quarkus,探讨它是否能成为将 Java 更有效地带入云原生世界的解决方案。
2. Quarkus 概述
Quarkus(官网 quarkus.io)自称是“超音速、亚原子级 Java 框架”,其核心承诺是:
✅ 极小的部署包
✅ 极快的启动时间
✅ 快速处理第一个请求
Quarkus 支持与 GraalVM 集成,通过 AOT(提前编译)方式将 Java 应用编译为原生可执行文件,从而大幅提升性能。此外,Quarkus 基于 Java 标准构建,这意味着我们可以继续使用熟悉的 CDI、JAX-RS 等标准 API,无需学习新语法。
Quarkus 还提供了丰富的扩展支持,包括:
- Hibernate ORM
- Apache Kafka
- OpenShift / Kubernetes 集成
- Vert.x 异步编程模型
3. 编写第一个 Quarkus 应用
创建 Quarkus 项目最简单的方式是使用 Maven 插件:
mvn io.quarkus:quarkus-maven-plugin:0.13.1:create \
    -DprojectGroupId=com.baeldung.quarkus \
    -DprojectArtifactId=quarkus-project \
    -DclassName="com.baeldung.quarkus.HelloResource" \
    -Dpath="/hello"
该命令会生成一个包含基础结构的 Maven 项目,包含:
HelloResource类,定义了/hello接口- 默认配置文件
- Dockerfile 文件
生成后的项目结构如下图所示:
查看 HelloResource 类:
@Path("/hello")
public class HelloResource {

    @GET
    @Produces(MediaType.TEXT_PLAIN)
    public String hello() {
        return "hello";
    }
}
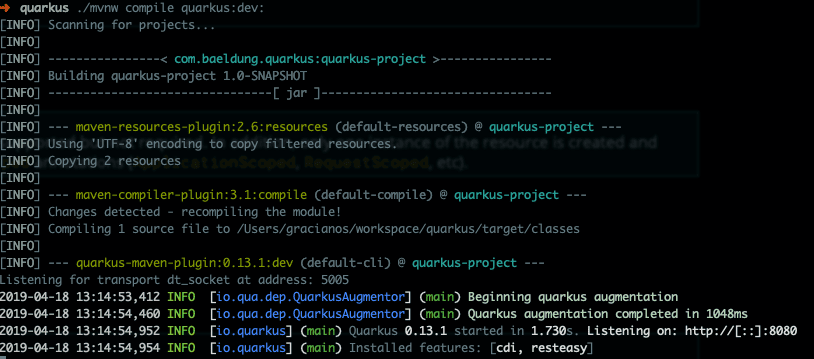
这个类定义了一个简单的 REST 接口。我们可以通过以下命令启动开发模式:
./mvnw compile quarkus:dev
然后访问 http://localhost:8080/hello,用 curl 验证:
$ curl localhost:8080/hello
hello
4. 热重载(Hot Reload)
Quarkus 的开发模式支持热重载功能,这意味着:
✅ 修改 Java 类或配置文件后,刷新页面即可生效
⚠️ 甚至无需手动保存文件(取决于 IDE 设置)
我们来演示一下这个功能。
首先,创建 HelloService 类:
@ApplicationScoped
public class HelloService {
    public String politeHello(String name){
        return "Hello Mr/Mrs " + name;
    }
}
然后修改 HelloResource 类:
@Inject
HelloService helloService;

@GET
@Produces(MediaType.APPLICATION_JSON)
@Path("/polite/{name}")
public String greeting(@PathParam("name") String name) {
    return helloService.politeHello(name);
}
测试新接口:
$ curl localhost:8080/hello/polite/Baeldung
Hello Mr/Mrs Baeldung
接下来,我们在 application.properties 中添加一个配置项:
greeting=Good morning
并修改 HelloService 使用该配置:
@ConfigProperty(name = "greeting")
private String greeting;

public String politeHello(String name){
    return greeting + " " + name;
}
再次测试:
$ curl localhost:8080/hello/polite/Baeldung
Good morning Baeldung
打包应用也非常简单:
./mvnw package
这会在 target/ 目录下生成两个 JAR 文件:
quarkus-project-1.0-SNAPSHOT-runner.jar:可执行 JARquarkus-project-1.0-SNAPSHOT.jar:仅包含类和资源文件
运行可执行 JAR:
java -jar target/quarkus-project-1.0-SNAPSHOT-runner.jar
5. 构建原生镜像(Native Image)
Quarkus 可以将应用编译为原生可执行文件,显著提升启动速度和首次请求响应时间。它包含运行所需的一切,包括最小化的 JVM。
要构建原生镜像,需要安装 GraalVM 并配置 GRAALVM_HOME 环境变量。
停止当前应用后,运行:
./mvnw package -Pnative
构建过程会稍长,因为需要进行 AOT 编译。
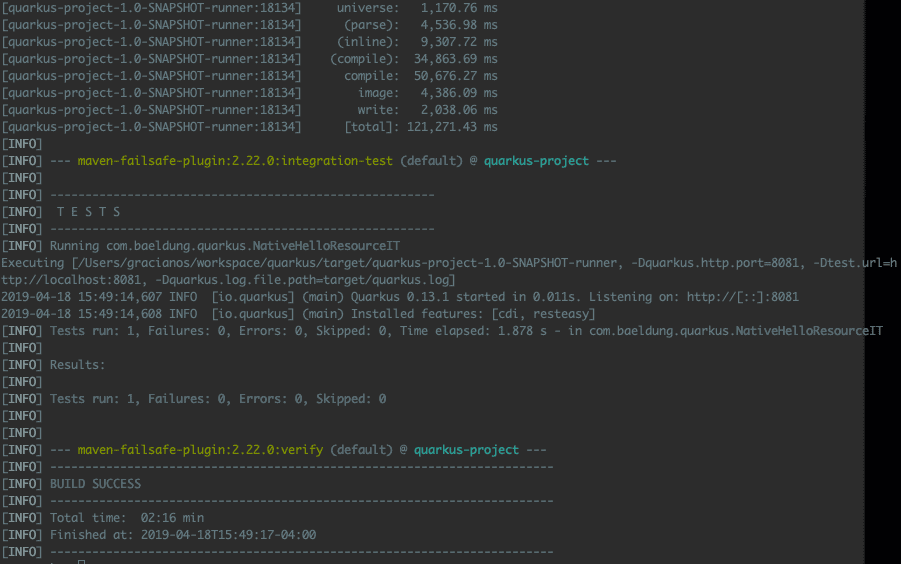
验证构建结果:
./mvnw verify -Pnative
接着,我们可以使用 Docker 构建容器镜像:
./mvnw package -Pnative -Dnative-image.docker-build=true
Quarkus 自动生成的 Dockerfile.native 内容如下:
FROM registry.fedoraproject.org/fedora-minimal
WORKDIR /work/
COPY target/*-runner /work/application
RUN chmod 775 /work
EXPOSE 8080
CMD ["./application", "-Dquarkus.http.host=0.0.0.0"]
构建 Docker 镜像:
docker build -f src/main/docker/Dockerfile.native -t quarkus/quarkus-project .
运行容器:
docker run -i --rm -p 8080:8080 quarkus/quarkus-project
容器启动时间仅为 0.009 秒,性能惊人:

测试接口:
$ curl localhost:8080/hello/polite/Baeldung
Good morning Baeldung
6. 部署到 OpenShift
完成本地测试后,可以将镜像部署到 OpenShift:
oc new-build --binary --name=quarkus-project -l app=quarkus-project
oc patch bc/quarkus-project -p '{"spec":{"strategy":{"dockerStrategy":{"dockerfilePath":"src/main/docker/Dockerfile.native"}}}}'
oc start-build quarkus-project --from-dir=. --follow
oc new-app --image-stream=quarkus-project:latest
oc expose service quarkus-project
获取访问地址:
oc get route
访问接口(URL 可能因环境不同而异):
$ curl http://quarkus-project-myproject.192.168.64.2.nip.io/hello/polite/Baeldung
Good morning Baeldung
7. 总结
Quarkus 为 Java 在云原生时代提供了一个全新的可能性。它不仅拥有极快的启动速度和低资源占用,还兼容 Java 标准 API,让开发者无需学习新语法即可上手。
随着 Quarkus 社区的快速发展,越来越多的功能被加入进来。如果你希望尝试 Java 在 Serverless 或微服务场景下的应用,Quarkus 是一个非常值得尝试的框架。
Quarkus 官方提供了大量示例项目,可以参考:Quarkus GitHub Quickstarts
完整示例代码可在 GitHub 获取。Happy coding! ✅