1. 概述
本教程将演示如何使用Podman Desktop容器化Spring Boot应用。Podman是一个容器化工具,允许我们无需守护进程即可管理容器。
Podman Desktop是带图形界面的桌面应用,用于通过Podman管理容器。
为展示其用法,我们将创建一个简单的Spring Boot应用,构建容器镜像,并通过Podman Desktop运行容器。
2. 安装Podman Desktop
首先需要在本地机器安装Podman Desktop。它支持Windows、macOS和Linux系统。下载安装程序后,按照安装向导完成设置。
关键安装步骤:
- ✅ 确保机器已安装Podman。若未安装,Podman Desktop会自动提示并安装
- ✅ Podman就绪后,会提示启动Podman虚拟机。可使用默认设置或按需自定义(运行容器前必须完成此步骤)
- ⚠️ Windows用户需先启用/安装WSL2
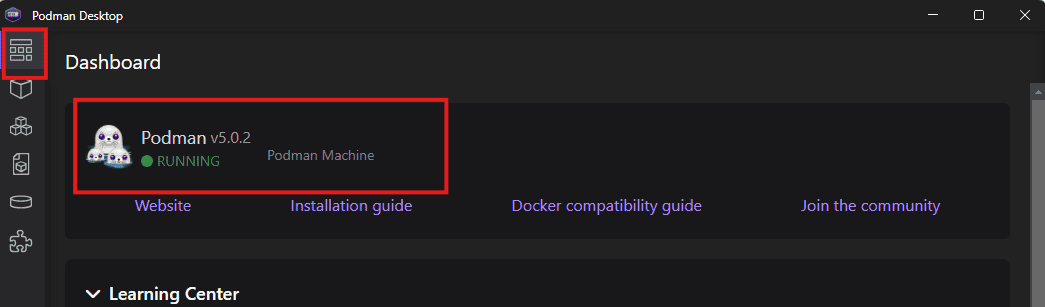
安装完成后,应有一个可通过Podman Desktop管理的Podman虚拟机在运行。 可在仪表盘部分验证:
3. 创建Spring Boot应用
我们创建一个简单的Spring Boot应用,包含一个返回"Hello, World!"消息的REST控制器(访问*/hello*接口)。
使用Maven构建项目并生成jar文件,然后创建Containerfile(Docker生态中的Dockerfile),通过Podman Desktop构建容器镜像。
3.1. 项目配置
<dependencies>
    <dependency>
        <groupId>org.springframework.boot</groupId>
        <artifactId>spring-boot-starter-web</artifactId>
        <version>3.3.1</version>
    </dependency>
</dependencies>
此依赖提供构建Spring Boot Web应用所需的核心库。
3.2. 控制器
创建REST控制器:
@RestController
public class HelloWorldController {
    @GetMapping("/hello")
    public String helloWorld() {
        return "Hello, World!";
    }
}
使用@RestController注解标记控制器类,@GetMapping将方法映射到*/hello*接口。访问该接口将返回"Hello, World!"消息。
3.3. 构建项目
终端执行Maven命令构建项目:
mvn clean package
此命令编译项目、运行测试,并在target目录生成jar文件。
4. Containerfile
现在为应用创建Containerfile(项目根目录):
FROM openjdk:17-alpine
WORKDIR /app
COPY target/spring-boot-podman-desktop-1.0-SNAPSHOT.jar app.jar
EXPOSE 8080
CMD ["java", "-jar", "app.jar"]
文件解析:
- 使用
openjdk:17-alpine作为基础镜像(轻量级JDK 17环境) - 设置工作目录为
/app - 复制Maven生成的jar文件到容器
/app目录 - 暴露8080端口(Spring Boot默认端口)
- 容器启动时执行
java -jar app.jar命令
5. 使用Podman Desktop构建镜像
Containerfile就绪后,通过Podman Desktop构建镜像:
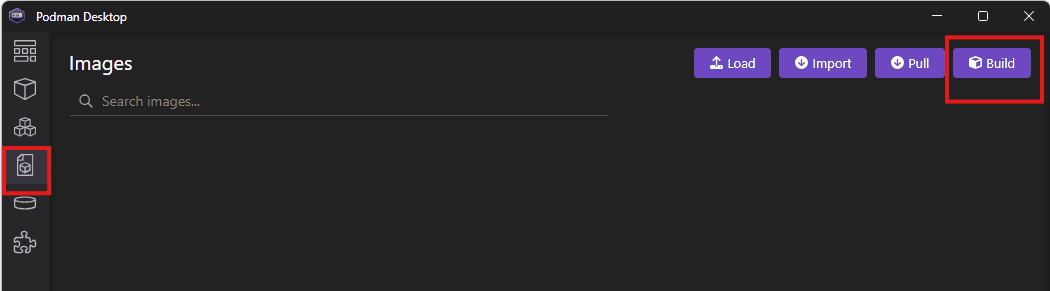
首先进入镜像部分,点击构建按钮:
填写镜像详情:
- 设置镜像名称(如
hello-world-demo) - 选择Containerfile位置
- 使用项目目录作为构建上下文
- 选择目标平台(保持默认即可)
参数配置示例:

点击构建按钮开始构建。完成后可在镜像部分查看新镜像。
6. 运行容器
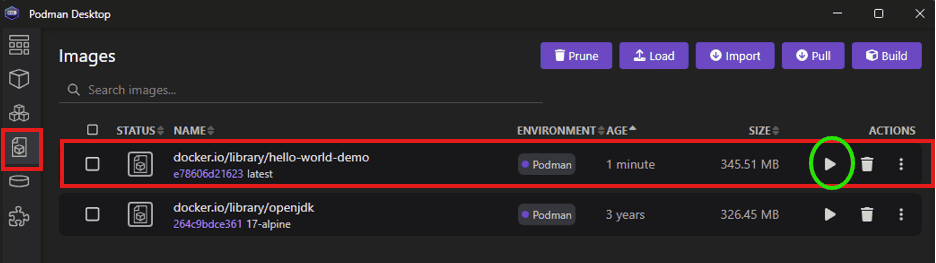
镜像就绪后,通过镜像运行容器。在镜像部分点击hello-world-demo镜像旁的运行按钮:
6.1. 启动容器
配置容器参数(Containerfile中的属性会自动预填充):
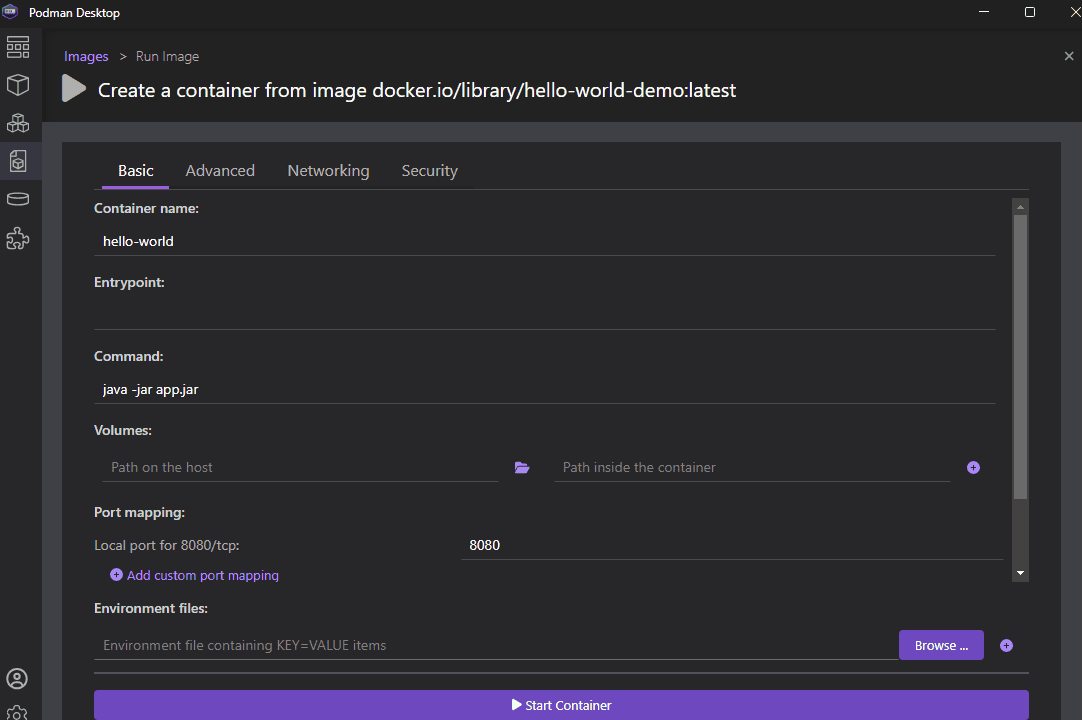
本例中端口映射和启动命令已自动填充。可按需配置:
- 环境变量
- 数据卷
- 容器名称
点击启动容器按钮。系统将打开容器详情页面并显示日志:
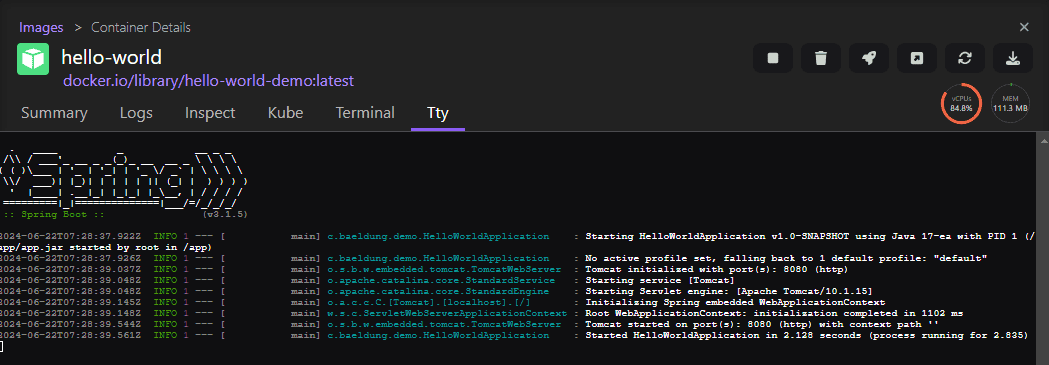
6.2. 测试应用
容器启动后,浏览器访问http://localhost:8080/hello验证应用:
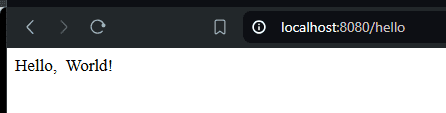
页面将显示"Hello, World!"消息。
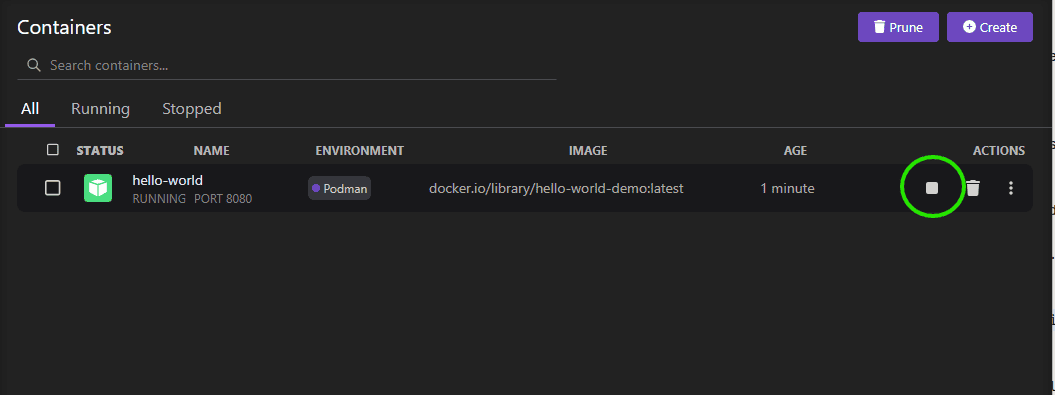
6.3. 停止容器
通过以下任一方式停止容器:
- 在容器详情页面点击停止按钮
- 在容器列表中找到目标容器,点击其停止按钮:
7. 总结
本文演示了使用Podman Desktop容器化Spring Boot应用的完整流程:
- 创建带API接口的Spring Boot应用
- 编写Containerfile定义容器构建规则
- 通过Podman Desktop构建镜像
- 运行容器并验证接口可用性
- 管理容器生命周期(启动/停止)
代码示例已上传至GitHub仓库,欢迎参考实践。