1. 概述
GitLab 中的 CI/CD 流水线是通过项目根目录下的 .gitlab-ci.yml 文件定义的。由于每个分支只能有一个 .gitlab-ci.yml 文件,因此很多人会疑惑:是否可以在同一个仓库中定义并运行多个不同的 CI/CD 流水线?
答案是肯定的。GitLab 提供了灵活的机制,比如 workflow 和 rules 关键字,让我们可以根据不同条件触发不同的流水线行为。
本文将带你了解如何在同一个 GitLab 仓库中定义并运行多个 CI/CD 流水线,包括通过 UI、API、Webhook 和 ChatOps 等方式触发不同行为。
2. 控制流水线和任务
GitLab 使用 workflow 和 rules 关键字来控制是否创建流水线以及哪些任务应该被包含在流水线中。
2.1. 控制流水线创建
默认情况下,只要代码仓库有变更,GitLab 就会为该分支创建一个流水线。例如:
hello_world:
  script:
    - echo "Hello, world!"
上面这个 .gitlab-ci.yml 文件会在任意分支上触发流水线。但如果你希望只在默认分支(如 main)上触发流水线,可以使用如下配置:
workflow:
  rules:
    - if: $CI_COMMIT_BRANCH == $CI_DEFAULT_BRANCH

hello_world:
  script:
    - echo "Hello, world!"
✅ 说明:
CI_COMMIT_BRANCH表示当前提交所在的分支。CI_DEFAULT_BRANCH表示项目的默认分支(通常是main或master)。- 只有当两者相等时,才会创建流水线。
你可以添加多个规则,GitLab 会按顺序判断,一旦满足某个规则,就不再继续判断。
2.2. 控制任务执行
除了控制流水线是否创建,我们还可以使用 rules 控制具体任务是否加入当前流水线。例如:
job1:
  rules:
    - if: '$CI_COMMIT_BRANCH == $CI_DEFAULT_BRANCH'
  script:
    - echo "job started for the default branch"

job2:
  rules:
    - if: '$CI_PIPELINE_SOURCE != "push"'
  script:
    - echo "job started for a non-default branch"
⚠️ 注意:
job1只会在默认分支上运行。job2只有在不是 push 事件时才运行(比如是 Web UI 触发、API 触发等)。- 每个流水线必须至少包含一个任务,否则 GitLab 不会创建该流水线。
3. 使用 GitLab UI 创建流水线
除了代码变更触发流水线外,GitLab 还支持通过 UI 手动触发流水线。
3.1. 手动触发流水线(On-demand Pipeline)
配置如下:
workflow:
  rules:
    - if: $CI_PIPELINE_SOURCE == "web"

test_job:
  script:
    - echo "job started with ui"
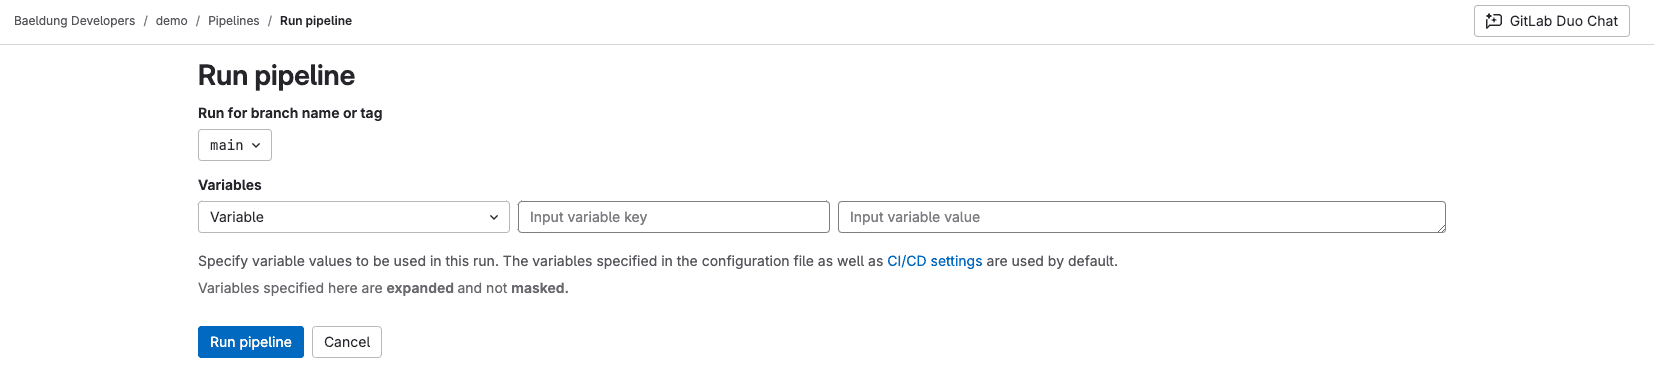
✅ 操作步骤:
- 进入项目页面,点击左侧菜单中的 Pipelines。
- 点击右上角的 Run pipeline。
- 选择分支或 tag,可设置自定义变量。
- 点击 Run,即可手动运行流水线。
3.2. 定时触发流水线(Scheduled Pipeline)
你也可以设置定时任务自动运行流水线。配置如下:
workflow:
  rules:
    - if: $CI_PIPELINE_SOURCE == "schedule"

test_job:
  script:
    - echo "job started with schedule"
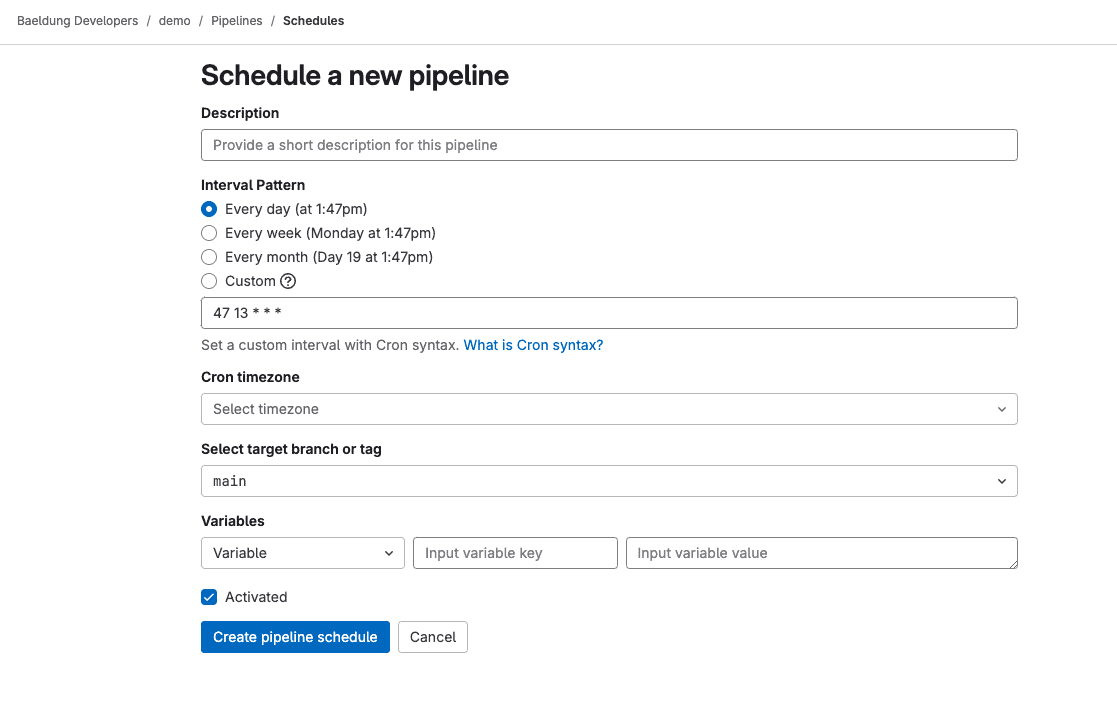
✅ 操作步骤:
- 进入 Pipelines > Schedules 页面。
- 点击 New schedule。
- 设置 Cron 表达式、分支、变量等。
- 启用定时任务。
4. 使用 GitLab API 和 Webhook
除了 UI,你还可以通过 API 或 Webhook 触发流水线。
4.1. 使用 Create Pipeline API
配置如下:
workflow:
  rules:
  - if: $CI_PIPELINE_SOURCE == "api"

test_job:
  script:
    - echo "job started with api flow"
使用 curl 命令触发:
curl --request POST \
     --header "PRIVATE-TOKEN: <your_token>" \
     "https://gitlab.com/api/v4/projects/baeldung-developers%2Fdemo/pipeline?ref=main"
✅ 说明:
- 使用项目路径时要 URL 编码。
- 也可以使用项目 ID 替代路径。

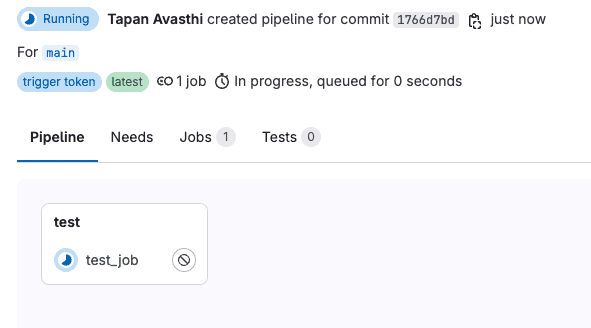
4.2. 使用 Trigger Pipeline API
配置如下:
workflow:
  rules:
    - if: $CI_PIPELINE_SOURCE == "trigger"

test_job:
  script:
    - echo "job started with trigger flow"
使用 curl 命令触发:
curl -X POST \
     -F token=<trigger_token> \
     -F ref=main \
     https://gitlab.com/api/v4/projects/61297443/trigger/pipeline
⚠️ 注意:
- 必须使用项目 ID,不能使用路径。
- 需提前在 GitLab 中创建 Trigger Token。

4.3. 使用 Webhook 触发流水线
GitLab 支持通过 Webhook 触发流水线,例如在合并请求或 Issue 中添加评论时触发。
✅ 操作步骤:
- 进入 Settings > Webhooks 页面。
- 添加 Webhook URL 和 Secret Token。
- 选择事件类型,例如 Comment。
- 在 MR 或 Issue 中添加评论,即可触发流水线。
⚠️ 注意:
- 如果勾选了 “Make this an internal note”,则不会触发流水线。
5. 使用 GitLab ChatOps
GitLab 支持与 Slack 或 Mattermost 集成,通过聊天工具发送命令来触发流水线任务。
配置如下:
workflow:
  rules:
    - if: $CI_PIPELINE_SOURCE == "chat"

test_job:
  script:
    - echo "job started with chat ops flow"
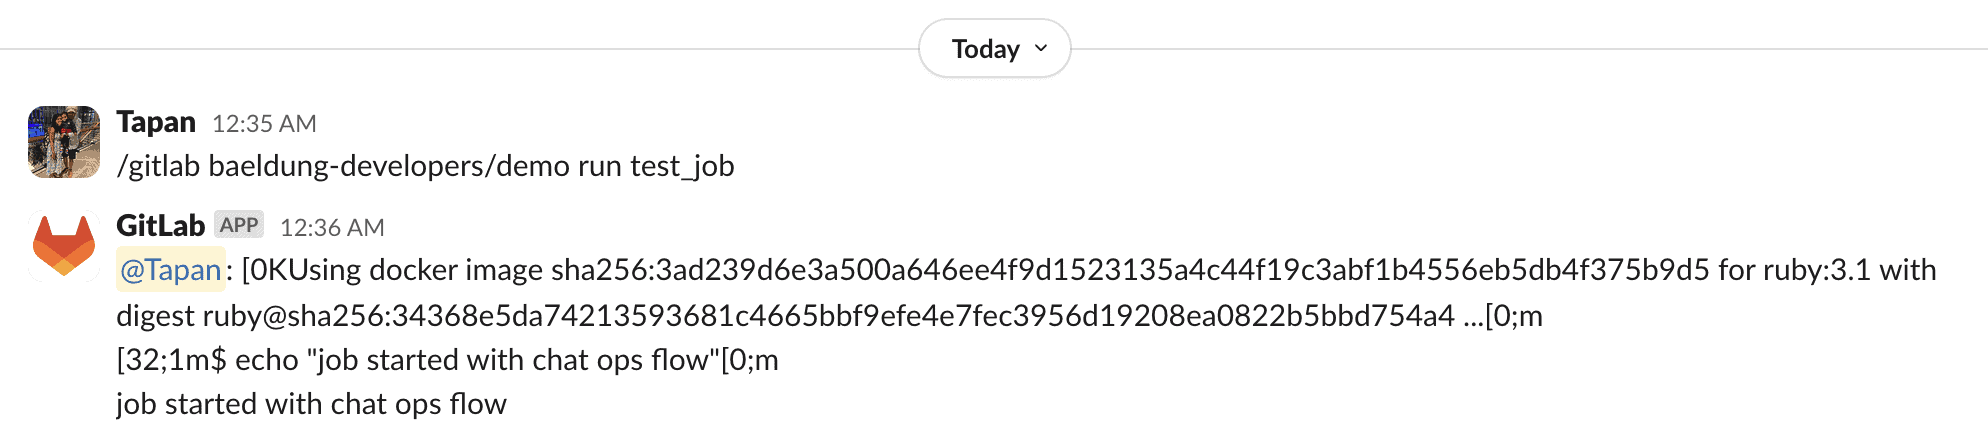
✅ 操作示例:
在 Slack 中发送命令:
/gitlab baeldung-developers/demo run test_job
GitLab 会创建一个流水线,并在完成后将结果返回到 Slack。
6. 总结
本文介绍了如何在同一个 GitLab 仓库中运行多个 CI/CD 流水线,主要方法包括:
✅ 使用 workflow 和 rules 控制流水线和任务的创建
✅ 通过 GitLab UI 手动运行流水线或设置定时任务
✅ 使用 API 或 Trigger Token 动态创建流水线
✅ 利用 Webhook 和 ChatOps 实现自动化触发
这些机制让 GitLab 的 CI/CD 更加灵活,适用于不同场景下的构建、测试和部署流程。掌握这些技巧,可以让你更高效地管理项目流水线,避免重复和混乱。