1. 概述
Jenkins 的工作空间(workspace)是 Jenkins 用于存储构建过程中相关文件的目录。由于同一个任务的多次构建会共用这个目录,为了避免文件冲突或残留构建产物,我们通常需要在每次构建后进行清理。
在本文中,我们将介绍几种在 Jenkins Pipeline 中清理工作空间的方法。
2. 什么是 Jenkins 工作空间
Jenkins 工作空间是 Jenkins 节点上为某个任务创建的独立目录,用于存放源码、输出产物、Dockerfile 等与构建相关的文件。
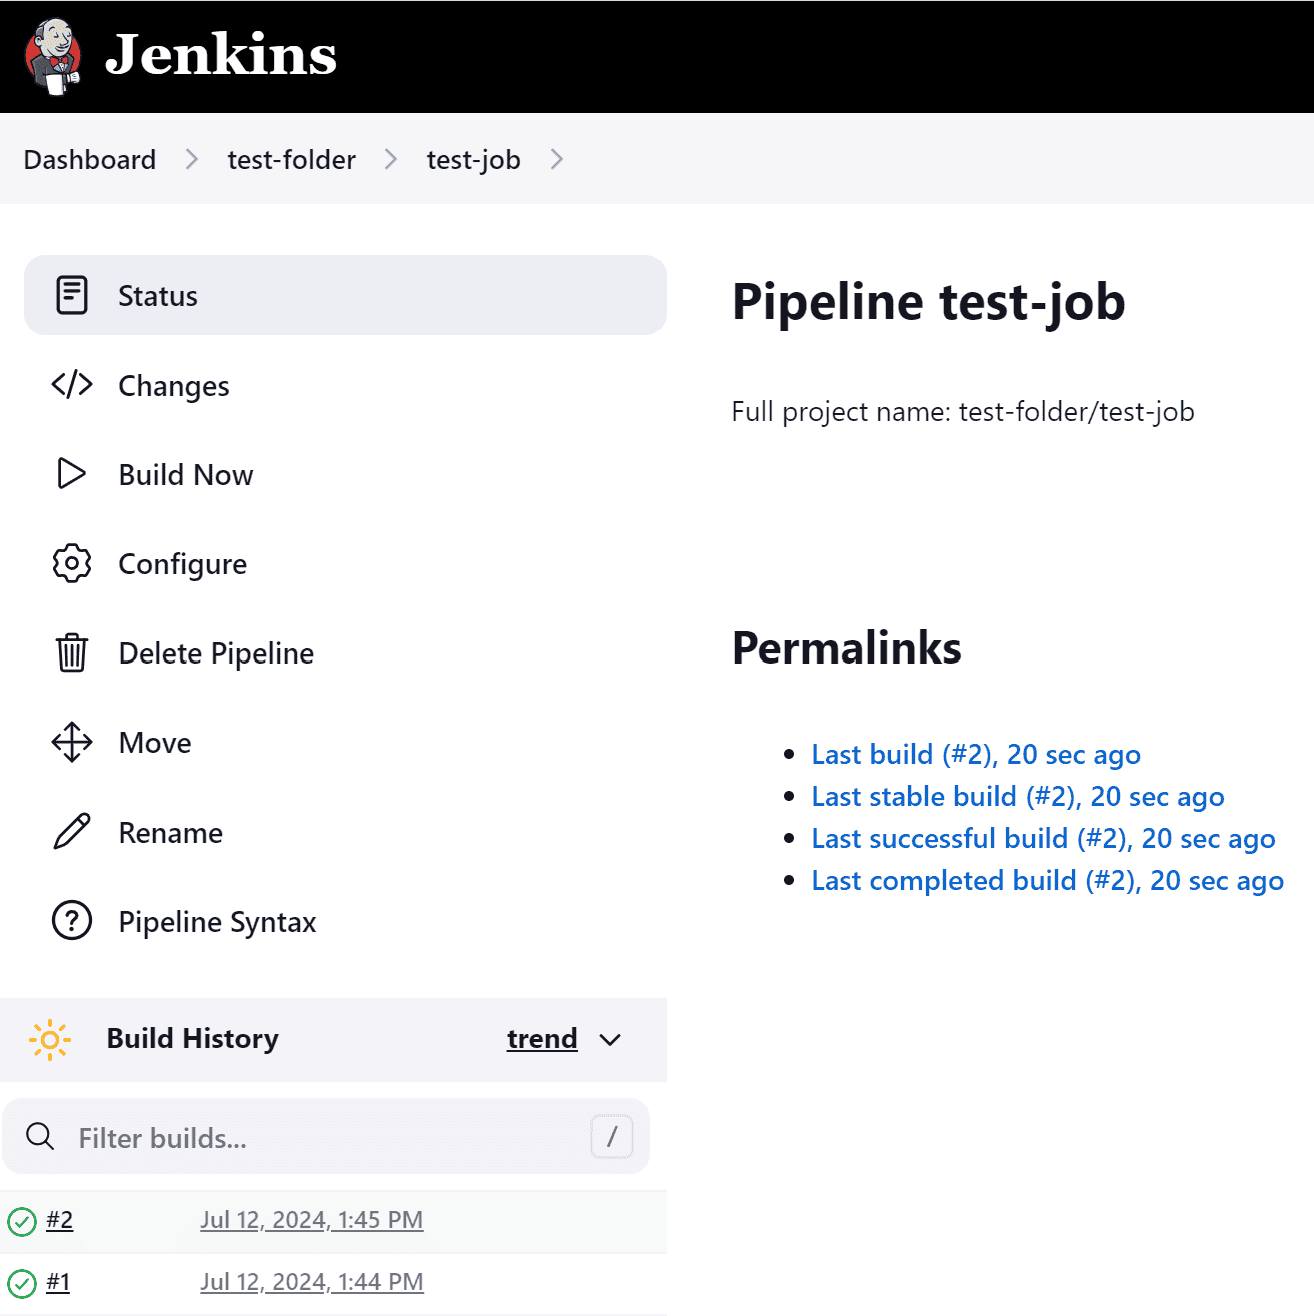
每个 Jenkins 任务都有自己的工作空间,路径结构与任务名称一致。例如,任务名为 test-job,位于文件夹 test-folder 下,那么它的工作空间路径为:
/{Jenkins root directory on the node}/workspace/test-folder/test-job
示例目录结构如下:
我们可以用以下命令验证:
$ pwd
/var/lib/jenkins/workspace
$ ls
test-folder
$ cd test-folder/
$ ls
test-job
$ cd test-job/
$ pwd
/var/lib/jenkins/workspace/test-folder/test-job
假设我们配置了一个简单的 Pipeline 创建一个文件:
pipeline {
    agent any
    stages {
        stage("create file"){
            steps{
                script {
                    sh "touch myfile.txt"
                }
            }
        }
    }
}
执行后,可以在工作空间中看到该文件:
$ pwd
/var/lib/jenkins/workspace/test-folder/test-job
$ ls
myfile.txt
这说明我们可以在工作空间中操作和持久化数据。
3. 使用 deleteDir 步骤清理工作空间
这是最基础的清理方式之一,使用 Jenkins Pipeline 自带的 deleteDir() 方法。
它属于 workflow-basic-steps 插件的一部分,通常已默认安装。该方法会删除当前目录下的所有内容,非常适合用于清理工作空间。
示例代码如下:
stage("clean workspace") {
    steps {
        script {
            sh "ls"
            deleteDir()
            sh "ls"
        }
    }
}
运行后输出如下:
...
+ touch myfile.txt
[Pipeline] sh
+ ls
myfile.txt
[Pipeline] deleteDir
[Pipeline] sh
+ ls
...
可以看到,第一次 ls 显示了文件,第二次则为空,说明清理成功。
✅ 优点:无需额外插件
❌ 缺点:只能删除当前目录内容,不能清理子目录权限问题
4. 使用 cleanWs 步骤清理工作空间
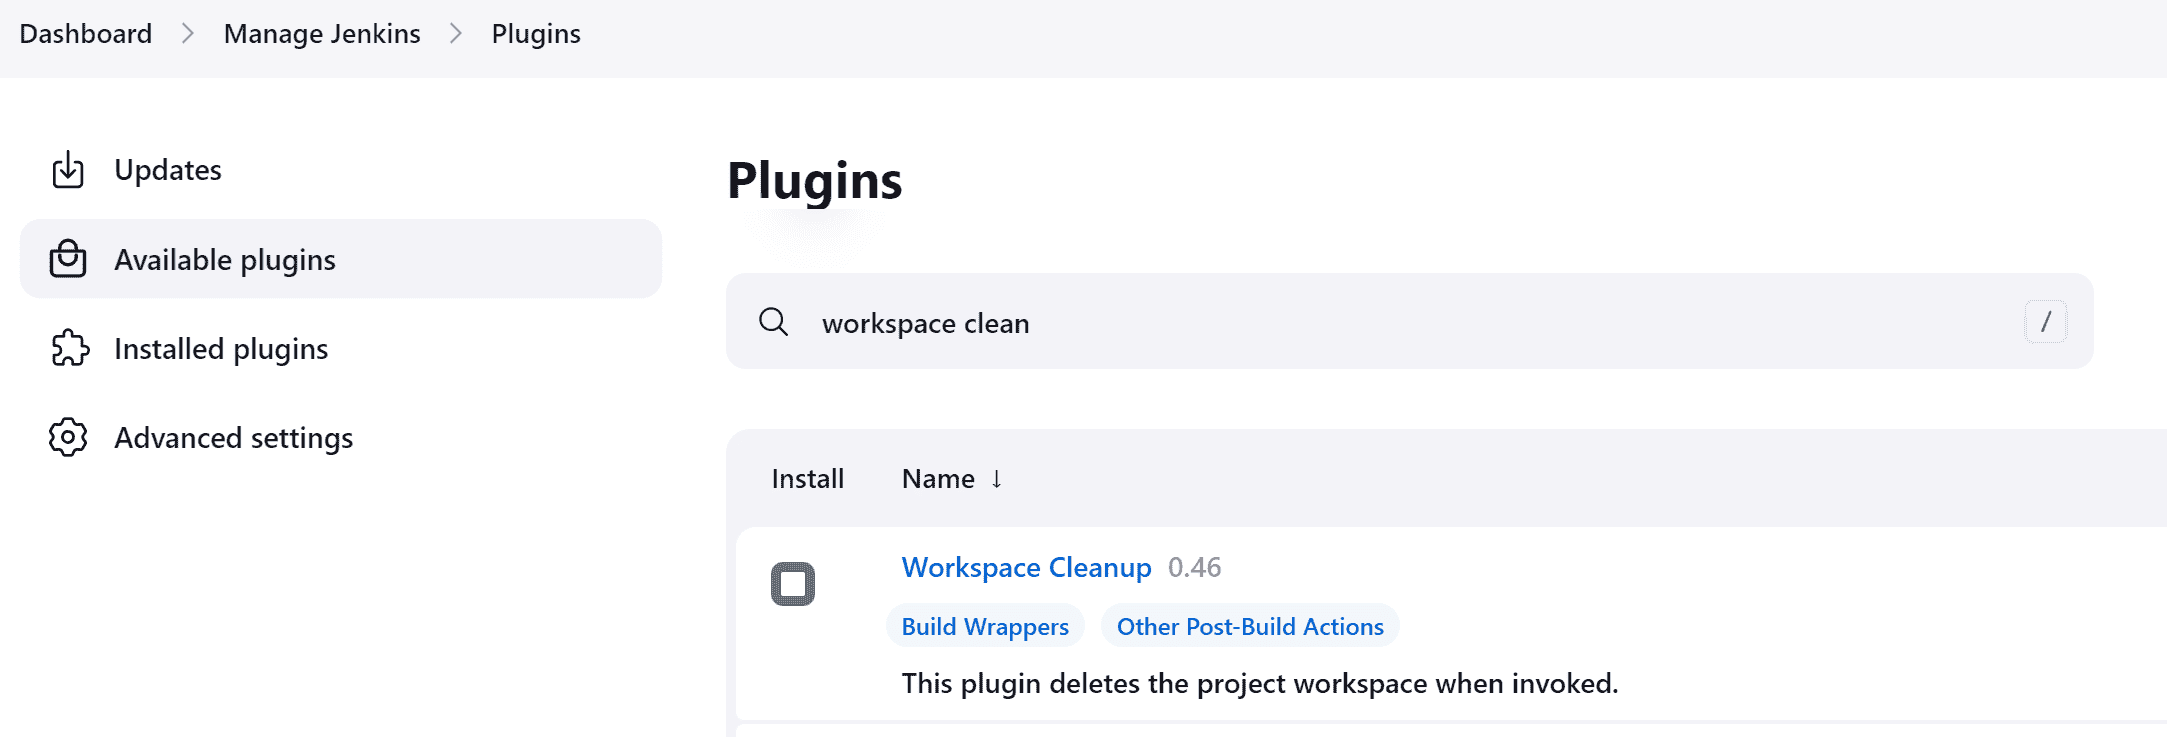
cleanWs() 是 Jenkins 提供的更高级清理方法,属于 ws-cleanup 插件功能。
它不仅会清理当前目录,还能清理缓存、符号链接、Docker 容器等资源,更适合复杂构建任务。
首先需要安装插件:
配置示例:
stage("clean workspace") {
    steps {
        script {
            sh "ls"
            cleanWs()
            sh "ls"
        }
    }
}
输出结果与 deleteDir 类似:
...
+ touch myfile.txt
[Pipeline] sh
+ ls
myfile.txt
[Pipeline] cleanWs
[Pipeline] sh
+ ls
...
✅ 优点:功能更全面,适合复杂场景
❌ 缺点:需要手动安装插件
5. 使用 Linux rm 命令清理工作空间
Jenkins 支持在 Pipeline 中直接调用节点的系统命令。如果你不想依赖插件,可以使用 rm 命令手动清理工作空间。
示例代码如下:
stage("clean workspace") {
    steps {
        script {
            sh "ls"
            sh "rm *"
            sh "ls"
        }
    }
}
输出结果如下:
...
+ touch myfile.txt
[Pipeline] sh
+ ls
myfile.txt
[Pipeline] sh
+ rm myfile.txt
[Pipeline] sh
+ ls
...
⚠️ 注意:使用 rm * 时要小心,避免误删其他重要文件。建议加上 -f 参数忽略错误:
sh "rm -f *"
✅ 优点:无需插件,简单直接
❌ 缺点:不够安全,需谨慎使用
6. 总结
| 方法 | 是否插件 | 特点 |
|---|---|---|
deleteDir |
否 | 基础清理,无需插件 |
cleanWs |
是 | 功能强大,适合复杂项目 |
rm 命令 |
否 | 灵活但需谨慎使用 |
在实际使用中,推荐优先使用 cleanWs(),它能处理更多构建残留问题,是更安全、更全面的选择。如果环境受限或希望保持轻量级配置,也可以使用 deleteDir() 或 rm 命令。
根据你的项目复杂度和 Jenkins 环境选择合适的清理方式,避免构建冲突,提升稳定性。